Birnin T'Challa Map Guide – Marvel Rivals Convoy Strategy
Birnin T'Challa is a stunning Wakandan cityscape set in a vibrant, technologically advanced future where Vibranium-powered architecture dominates the skyline. This Convoy map challenges attackers to escort a payload through narrow urban corridors, open plazas, and elevated walkways while defenders leverage the city's layered verticality. Mastering the map's choke points and flanking routes is essential for both teams.
Overview
Birnin T'Challa is set in a gleaming vision of Wakanda's future, blending organic African architectural motifs with Vibranium-infused futuristic technology. Towering spires, glowing purple energy conduits, and multi-tiered walkways define the aesthetic, creating a battlefield that is as visually striking as it is strategically complex. The convoy route winds through several distinct zones, each with its own spatial personality and tactical demands.
The map opens with a relatively wide starting corridor flanked by low cover and side buildings that allow for early skirmishing. As the payload moves forward, the route tightens into the city's commercial district, where narrow alleys and market stalls create intense close-quarters combat opportunities. Overhead bridges and elevated platforms run parallel to the main path throughout this section, rewarding heroes who can leverage high ground. Flanking routes through side streets allow aggressive duelists to bypass contested choke points entirely.
The mid-section of the map features a large open plaza that represents one of the most contested areas in the entire convoy route. Vibranium-powered pillars and decorative structures provide scattered cover, but neither team has a decisive positional advantage here — making team composition and coordination critical. Attackers pushing through this plaza must be well-organized, as defenders can establish crossfire angles from multiple elevated positions simultaneously.
The final stretch approaches the royal district of Birnin T'Challa, where the architecture becomes grander and the sightlines grow longer. A final uphill push toward the delivery point forces attackers to commit through a funnel with minimal lateral escape options. Defenders who hold this high ground aggressively can stall the payload indefinitely, making ultimate ability timing and coordinated pushes the key to sealing an attack win in the final phase.
⚔️ Attack Tips
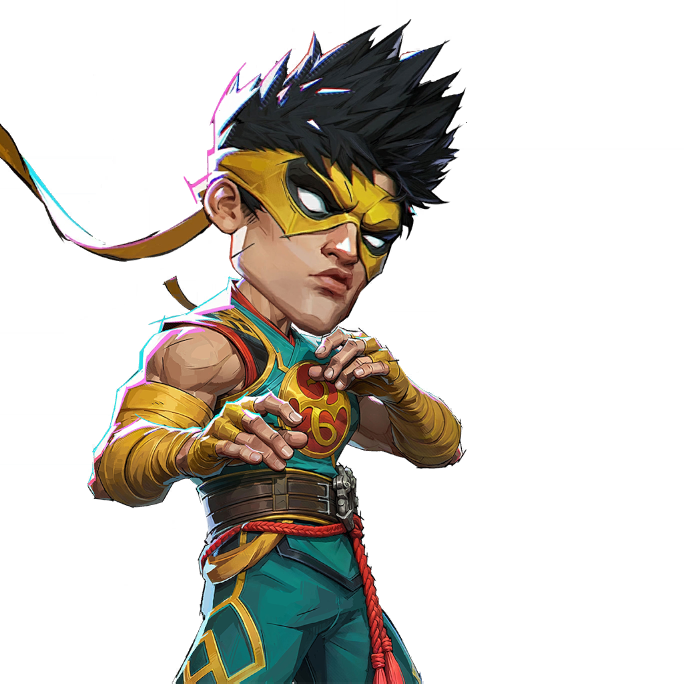
When attacking in the early phase, resist the temptation to rush the payload immediately. Use the side alleys flanking the starting corridor to get your duelists ahead of the main engagement, applying pressure from unexpected angles before committing your tanks to the payload. Heroes with mobility — such as Spider-Man, Black Panther, or Iron Fist — can slip through these flanking routes and disrupt the defenders' back line before they establish a solid hold. Securing kills on enemy Strategists early prevents defenders from sustaining through your payload pushes.
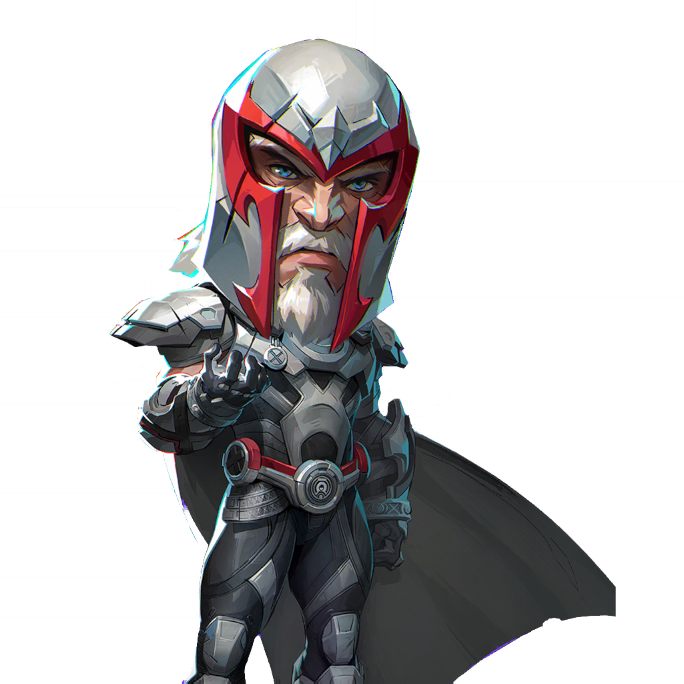
The open plaza in the mid-section is the map's most critical offensive challenge. Avoid slow, predictable advances across open ground where crossfire is punishing. Instead, coordinate a simultaneous push using your Vanguards as a frontal shield while flanking duelists pressure defenders from the side streets. Strong area-denial ultimates — such as Doctor Strange's Maelstrom of Madness or Magneto's Iron Bulwark — can temporarily suppress defender sightlines, giving your team the crucial seconds needed to contest and hold the center pillars for cover. Once you control the pillars, the payload momentum becomes much easier to sustain.
During the final uphill push into the royal district, patience and resource management are everything. Do not burn defensive ultimates early — save them for the concentrated final choke. Stack your Vanguards on the payload to maintain capture progress even under fire, and use Strategist ultimates like Luna Snow's Fate of Both Worlds or Invisible Woman's Guardian Goddess to sustain through the heavy incoming damage. A flanking duelist threading the outer wall route can often catch the defending anchor out of position and collapse the hold entirely, so always assign one mobile hero to probe the edges of this final zone.
🛡️ Defense Tips
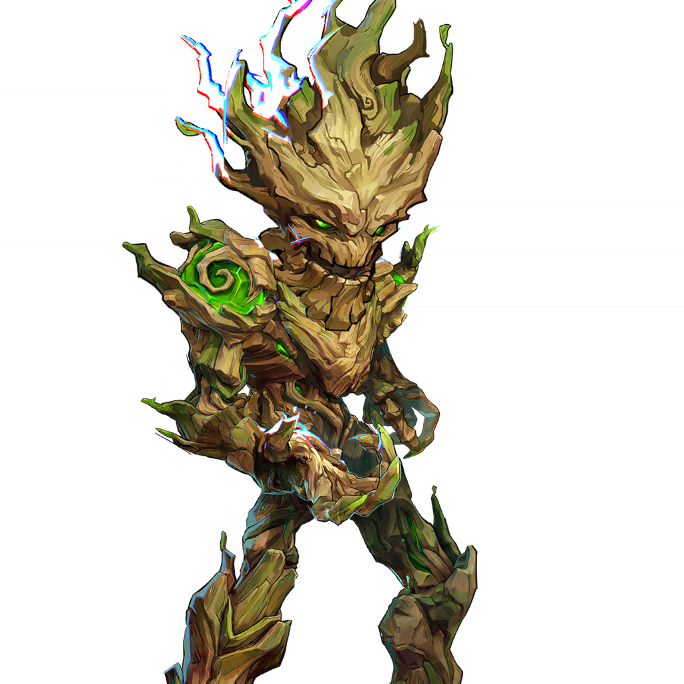
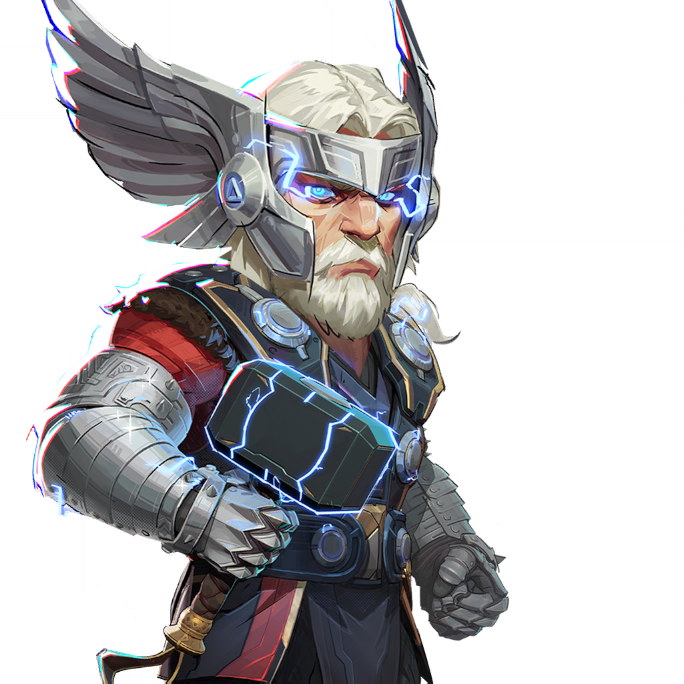
In the early phases of defense, prioritize setting up a forward hold in the narrow commercial district rather than retreating to the plaza. The tight alleys here heavily favor defenders who can leverage area-denial and crowd-control abilities. Heroes like Magneto, Thor, or Groot can use their crowd-control kits to make the payload corridor nearly impassable, while a Strategist positioned on an elevated walkway above provides healing angles that are difficult for attackers to contest. Hold this forward position for as long as possible — every second of stall time matters on Convoy.
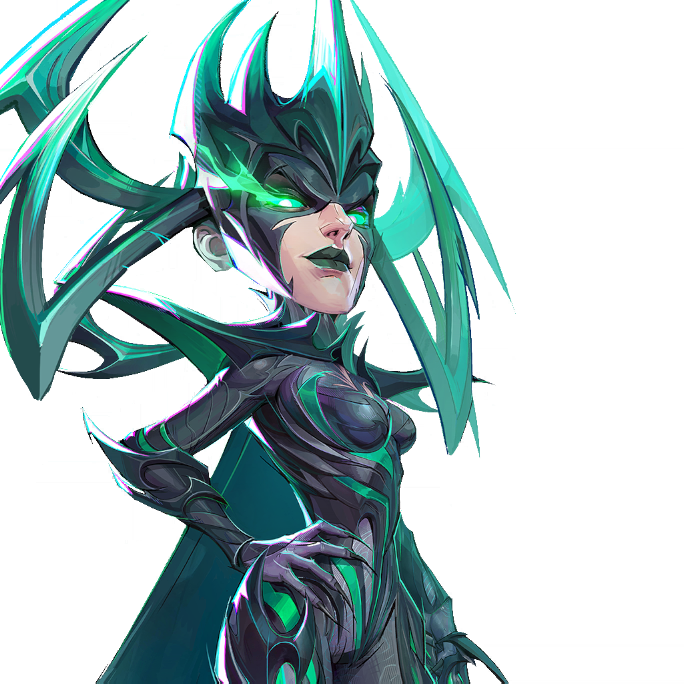
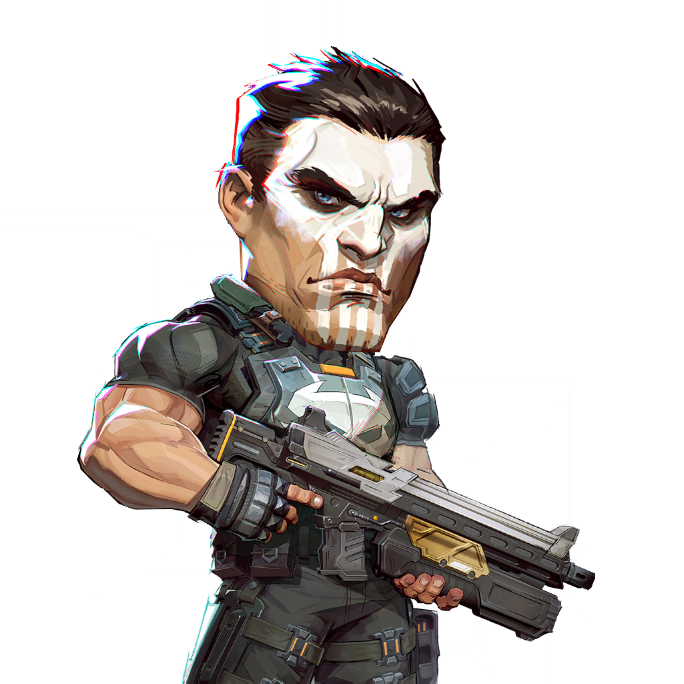
When you are forced back to the open plaza, immediately claim the elevated platforms and walkways on both flanks. Do not bunch up in the center — spread your team across high ground to create crossfire angles that punish attackers attempting to cross the open ground. Snipers and long-range duelists like Hawkeye, Hela, or Punisher thrive from these elevated positions and can deny payload progress with sustained damage. Assign at least one mobile defender to watch for flanking duelists coming through the side streets, as an unchecked flank can collapse the entire plaza hold very quickly.
For the final defense at the royal district choke, funnel the attackers into the uphill approach by placing your two Vanguards at the top of the incline, denying the high-ground advantage to attackers. This narrow, elevated final zone is one of the strongest natural defensive positions in all of Marvel Rivals' Convoy maps — a coordinated team with good ultimate management can hold here through multiple attacker waves. Rotate Strategist healing resources carefully, and save at least one major defensive ultimate for the final seconds of the timer when attackers are most likely to make a desperate all-in play.