HomeMapsIntergalactic Empire of Wakanda
Game Mode: ConvergenceWakanda

Intergalactic Empire of Wakanda Map Guide – Marvel Rivals Convergence

The Intergalactic Empire of Wakanda is a visually stunning Convergence map set in a cosmic Wakandan outpost, blending advanced vibranium technology with alien star systems. Teams battle through tight corridors, open plazas, and elevated throne room platforms to push a contested payload to its final destination. Mastery of verticality and choke point control is essential to victory here.

Updated May 25, 2026
🔗 View on Wiki

Overview

The Intergalactic Empire of Wakanda transports players to a sprawling cosmic fortress suspended among the stars, where the Black Panther's empire has expanded beyond Earth. The map opens on a grand ceremonial landing platform bathed in deep purples and golds, with massive vibranium spires jutting toward a nebula-filled sky. The aesthetic blends traditional Wakandan architecture — carved panther motifs, terraced walls, and bead-work patterns — with sleek intergalactic technology like energy shields, hovering platforms, and pulsing Vibranium conduits running through the floors.

The map is divided into three distinct phases typical of Convergence mode. The first phase features a wide-open ceremonial courtyard with flanking side corridors on both left and right, giving attackers multiple approach vectors but also exposing them to defenders positioned on elevated overwatch ledges. The payload begins here and must be escorted through the first contested gate, a narrow archway flanked by tall vibranium pillars that act as natural cover positions for both teams.

The second phase transitions into a more interior environment — a grand throne room antechamber with high ceilings, tiered balconies accessible via staircases on either side, and a central raised dais near the payload path. This section rewards teams that can secure the high ground on the balconies, as they provide sightlines down onto the payload and the main corridor below. Several pillars and decorative structures offer mid-level cover, making this the most complex and fought-over section of the map.

The final phase pushes the payload out onto an exterior star-gazer platform — a wide circular arena with limited hard cover, a dramatic drop-off on the far edges, and a powerful energy conduit running through the center. The final delivery point sits at the far end of this platform, meaning attackers must survive a prolonged open-ground push while defenders can fall back to a fortified alcove structure at the objective end. Environmental awareness is critical here, as aggressive positioning near the edges can result in elimination via the map's boundary drops.

⚔️ Attack Tips

During the first phase in the ceremonial courtyard, attackers should resist the urge to rush straight through the center. Instead, establish flanking presence in both the left and right side corridors simultaneously to split the defender's attention before committing to a coordinated central push. Heroes with mobility abilities are extremely valuable here for quickly rotating between corridors and contesting the elevated ledges before defenders can lock them down. Coordinate an aggressive dive onto those overwatch positions early — allowing defenders to hold the high ground unchallenged will stall the payload indefinitely at the first choke point archway.

In the second phase throne room antechamber, securing the balconies is the single most impactful thing an attacking team can do. Use the side staircases as your primary avenue — send a flanking Duelist up one staircase while the main team pressures from below to prevent the defender from holding both simultaneously. Once you claim even one balcony, you create a crossfire that makes the central corridor nearly untenable for defenders. Be mindful of defenders using the decorative pillars on the balcony level to reset and re-engage; push all the way to the back of the balcony to deny those reset positions entirely.

For the final star-gazer platform phase, the lack of hard cover means your team composition and ultimate economy matter enormously. Avoid trickling onto the platform one at a time — group up just inside the transition corridor and push as a full team with ultimates ready or nearly ready. A well-timed area denial or crowd control ultimate (such as Thor's or Magneto's) used at the start of the final push can break the defender's formation at the fortified alcove and create enough space for the payload to reach the delivery point. Assign one mobile Duelist to watch the flanks of the circular platform to prevent defenders from sneaking around and collapsing on your supports from unexpected angles.

🛡️ Defense Tips

In the first phase, defenders should prioritize stacking the elevated overwatch ledges above the ceremonial courtyard immediately at the start of the round. These positions provide vision and damage advantage over attackers in the courtyard below, and holding them forces attackers into a slow, cover-to-cover approach. Place your Vanguard at the first archway choke point as a frontline anchor while your Duelists and Strategists operate from the elevated ledges — this two-level defense is extremely difficult for attackers to break without coordinated effort. If attackers begin winning the flank corridors, immediately rotate one or two players to cut them off before they can reach the ledges.

During the second throne room antechamber phase, your top priority is denying the staircases that lead to the balconies. A Vanguard or high-health Duelist stationed at the base or mid-point of each staircase dramatically increases the cost for attackers trying to take the high ground. If you lose both balconies simultaneously, fall back to the pillar cluster near the payload delivery corridor and use the pillars for cover while your team regroups — attempting to retake the balconies in a disorganized counter-push is usually fatal. Strategists should maintain positions slightly recessed from the balcony edge to avoid being burst down by attackers below.

On the final star-gazer platform, defenders have a natural advantage in the fortified alcove structure near the final objective. Hold this position tightly and use the alcove's partial walls to break sightlines from attackers approaching across the open platform. Avoid chasing attackers back toward the transition corridor in large numbers — this abandons your fortified position and gives attackers the objective space for free. Instead, maintain a rotating defensive shell: one or two heroes contest the platform edges to slow the payload while the rest hold the alcove and punish any attacker who overextends into your space. Save at least one high-impact ultimate per phase reset to break attacker push momentum at critical moments.

🦸 Best Heroes

🦸
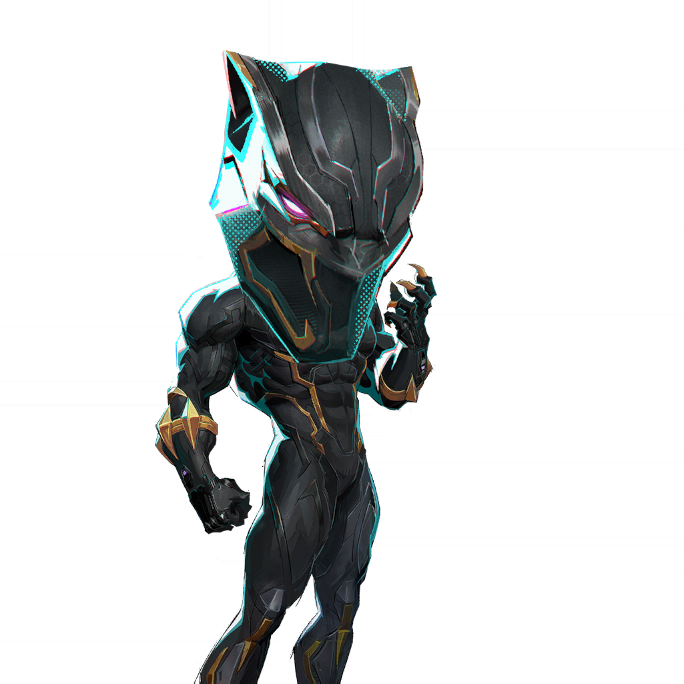
As the thematic centerpiece of the map, Black Panther's exceptional mobility allows him to rapidly move between the courtyard flanks, ascend to balcony positions before defenders can react, and dive exposed backline targets on the open star-gazer platform. His vibranium-enhanced kit thrives in the mid-range engagements found throughout the throne room antechamber.
🦸
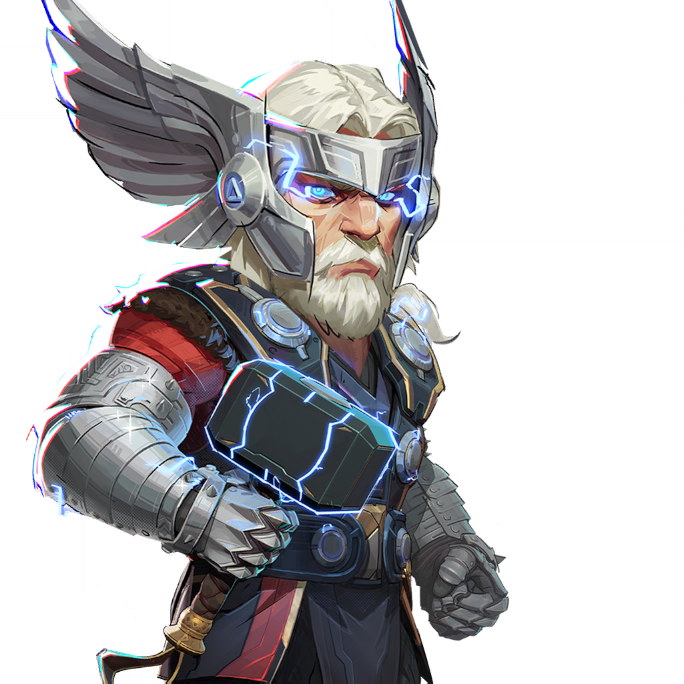
ThorVanguard
Thor's area denial and crowd control ultimates are game-changing on both the narrow first-phase archway choke and the open final platform. His hammer throw and storm call can disrupt entire defensive formations, and his tankiness allows him to anchor the payload through sustained pressure in all three phases.
🦸
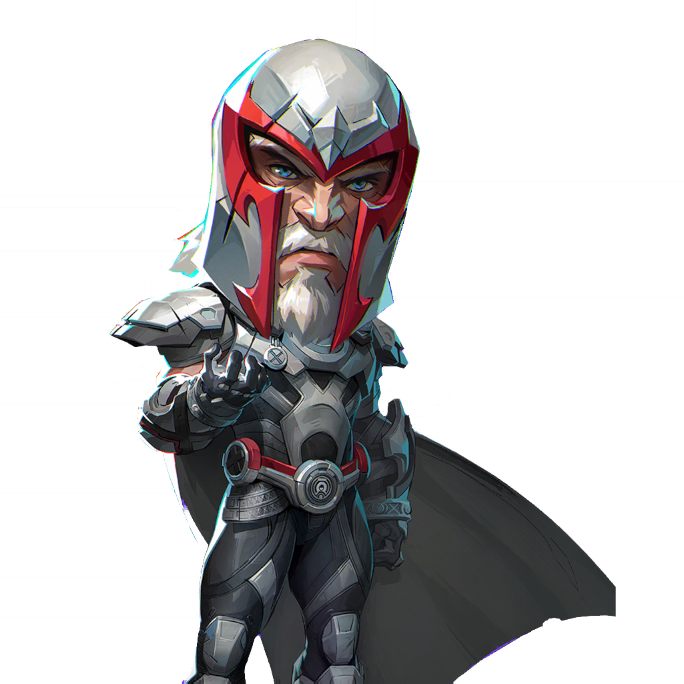
MagnetoVanguard
Magneto's shield bubbles and projectile absorption make him exceptional at the first archway choke point, where defenders funnel high volumes of ranged damage. His ultimate's gravitational pull is devastating on the final circular platform where the close boundary edges can lead to environmental eliminations on displaced enemies.
🦸
The elevated balcony positions in the throne room antechamber and the overwatch ledges in the courtyard are perfect perches for Hawkeye's long-range precision. He can safely deal massive damage to payload escorts from angles that are difficult to contest, making him a high-value defender or attacker on the map's high-ground positions.
🦸
StormDuelist
Storm's flight capability allows her to contest and control the elevated ledges without being restricted to the staircases, giving her team a major positional advantage in all phases. Her area of effect weather attacks cover the open courtyard and final platform extremely well, and she is difficult to dislodge from high-ground positions without dedicated counter-dive.
🦸
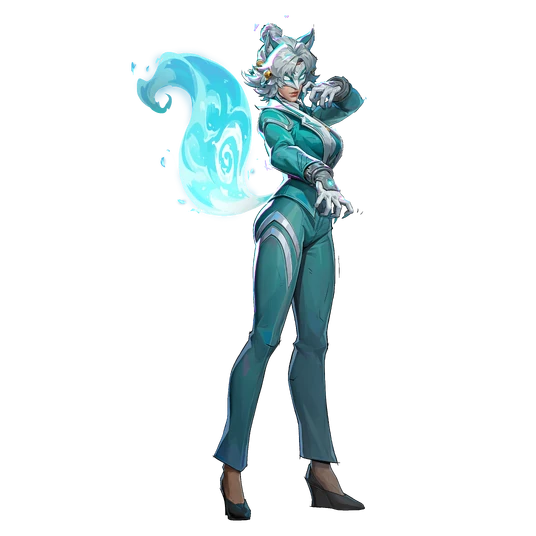
Luna SnowStrategist
Luna Snow's healing orbs and crowd control freeze abilities are excellent for sustaining payload pushes through the cramped archway choke and the open final platform. Her ultimate provides a large area heal that keeps teammates alive during the high-damage final phase, and her ice abilities can interrupt enemy ultimates at critical moments.

🦸
Scarlet Witch's reality-warping projectiles and hovering mobility allow her to contest balcony positions and operate effectively at the mid-ranges that dominate the throne room antechamber. Her ultimate's chaos burst is devastating in the enclosed antechamber space, capable of eliminating multiple grouped defenders simultaneously.
🦸
MantisStrategist
Mantis's targeted healing and damage amplification make her a strong support pick for enabling high-damage Duelists during coordinated pushes. Her sleep ability is particularly valuable for interrupting defender ultimates at the final platform, and she can provide pulsed healing to payload escorts navigating the exposed courtyard approaches.

📍 Key Locations

Ceremonial Courtyard
The opening area of the map where the payload originates. A wide-open space with a central pathway flanked by two side corridors. Elevated overwatch ledges on the defender's side provide dominant sightlines into the courtyard, making early ledge control the primary contest of phase one. Cover is present but sparse, rewarding mobile heroes.
First Gate Archway
The primary choke point between phase one and phase two, this narrow vibranium-pillar-flanked archway funnels both teams into a tight engagement zone. Defenders frequently stack heavy firepower here, and attackers must use the flanking corridors or smoke-screen abilities to break through without sustaining catastrophic losses.
Overwatch Ledges
Elevated platform positions above the ceremonial courtyard accessible from the defender's spawn-side. Holding these ledges gives defenders a massive damage and visibility advantage over the courtyard below. Attackers who successfully contest and take these positions early fundamentally change the dynamic of the first phase push.
Throne Room Antechamber
The most tactically complex section of the map, this grand interior space features tiered balconies, a central raised dais, and numerous decorative pillars for cover. Both staircases leading to the balconies are critical control points, and teams that dominate the high ground here generate crossfire angles that are extremely difficult for the opposing team to survive.
Balcony Staircases
The two staircase access points on either side of the throne room antechamber leading to the elevated balconies. These are bottleneck contest points where many of the phase two's most decisive fights occur. Controlling which team can safely use these staircases determines who holds the balconies and, consequently, who controls the antechamber.
Antechamber Pillar Cluster
A grouping of large vibranium pillars near the center-rear of the throne room antechamber that provides critical mid-level cover for both teams. Defenders use this cluster as a fallback position when losing the balconies, and attackers use it as a staging ground before making the final push toward the phase transition. Fights around these pillars are chaotic and heavily melee-favorable.
Star-Gazer Platform
The dramatic final phase arena — a large circular exterior platform overlooking the cosmos with minimal hard cover and boundary drop-offs at the edges. The exposed nature of this space rewards team compositions with strong area control and punishes disorganized pushes. The final payload delivery point sits at the far end near the defender's fortified alcove.
Defender's Fortified Alcove
A partial-wall structure at the far end of the star-gazer platform adjacent to the final objective. This is the last major defensive stronghold on the map, giving defenders protected angles to contest the payload delivery. Attackers must either bait defenders out of this position or use area-of-effect ultimates to break the hold, as a fortified team here can stall indefinitely.
Vibranium Conduit Channel
An energy conduit running through the center of the star-gazer platform that provides a minor low-profile cover option in an otherwise exposed space. Teams use this as a dividing line during platform fights — controlling which side of the conduit you hold determines your angle on the fortified alcove and the payload path.
Attacker Spawn Corridor
The transition corridor between the throne room antechamber and the star-gazer platform where attackers regroup and stage for the final push. This corridor is a critical rally point — attackers who push onto the platform in small groups get picked apart, while a full coordinated team push from this corridor with ultimates ready can overwhelm even an entrenched defense.
🛠 Team Builder for this Map
Build your team and see how it performs
+
+
+
+
+
+
Adam WarlockA
Adam Warlock
AngelaA
Angela
Black CatA
Black Cat
Black PantherA
Black Panther
Black WidowB
Black Widow
BladeA
Blade
Captain AmericaA
Captain America
Cloak & DaggerA
Cloak & Dagger
DaredevilA
Daredevil
DeadpoolA
Deadpool
Devil DinosaurA
Devil Dinosaur
Doctor StrangeA
Doctor Strange
Elsa BloodstoneB
Elsa Bloodstone
Emma FrostS
Emma Frost
GambitB
Gambit
GrootA
Groot
HawkeyeA
Hawkeye
HelaS
Hela
HulkB
Hulk
Human TorchA
Human Torch
Invisible WomanA
Invisible Woman
Iron FistB
Iron Fist
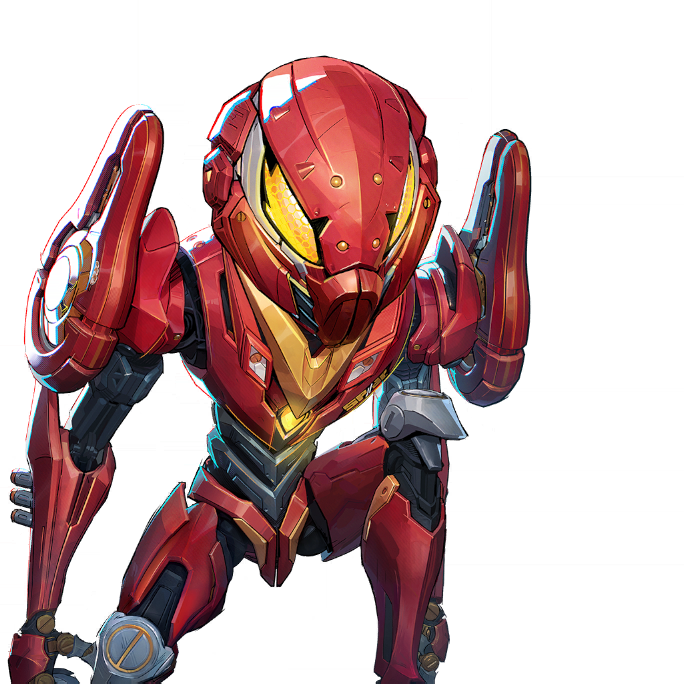
Iron ManS
Iron Man
Jeff the Land SharkA
Jeff the Land Shark
LokiS
Loki
Luna SnowS
Luna Snow
MagikS
Magik
MagnetoS
Magneto
MantisA
Mantis
Mister FantasticA
Mister Fantastic
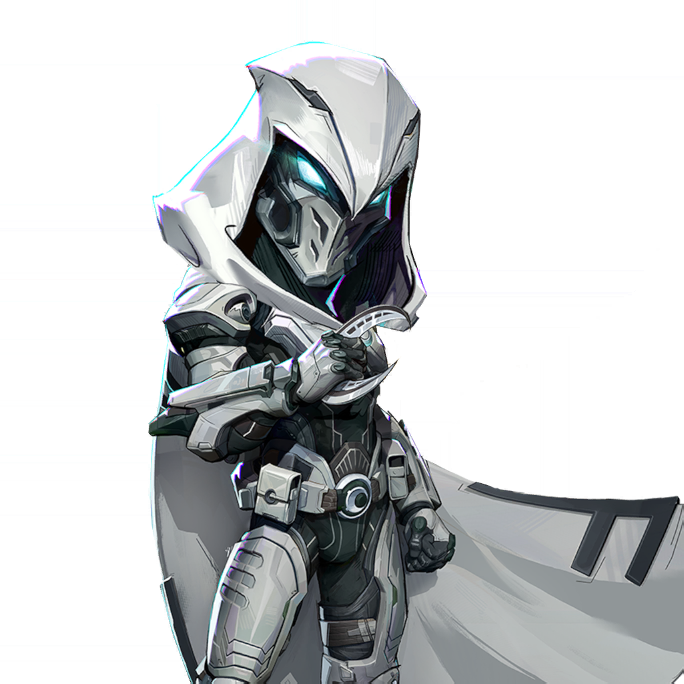
Moon KnightA
Moon Knight
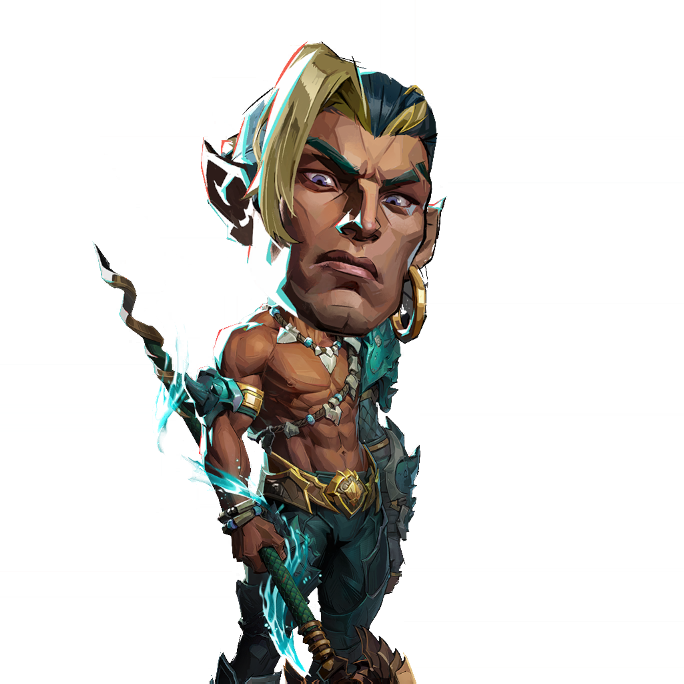
NamorB
Namor
Peni ParkerA
Peni Parker
PhoenixS
Phoenix
PsylockeS
Psylocke
Rocket RaccoonS
Rocket Raccoon
RogueB
Rogue
Scarlet WitchS
Scarlet Witch
Spider-ManS
Spider-Man
Squirrel GirlB
Squirrel Girl
Star-LordA
Star-Lord
StormA
Storm
The PunisherA
The Punisher
The ThingB
The Thing
ThorA
Thor
UltronA
Ultron
VenomS
Venom
White FoxA
White Fox
Winter SoldierA
Winter Soldier
WolverineA
Wolverine
★ = Recommended for Intergalactic Empire of Wakanda
← Back to Maps