HomeMapsWeather Terrarium
Game Mode: ConvergenceNature

Weather Terrarium Map Guide – Marvel Rivals Convergence Strategy

Weather Terrarium is a lush, nature-themed Convergence map set within a colossal ecological research facility where living biomes and controlled weather systems create a dynamic and visually stunning battlefield. The map features winding organic pathways, elevated flora platforms, and weather-altered terrain that rewards teams who understand vertical positioning and payload escort timing. Mastery of this map requires balancing aggressive pushes through its dense foliage corridors with disciplined holdouts at its iconic choke points.

Updated May 25, 2026
🔗 View on Wiki

Overview

Weather Terrarium is one of Marvel Rivals' most visually distinctive Convergence maps, designed around the concept of a contained ecological super-structure where massive biodomes house distinct climate zones. Players escort a payload through three sequential stages, each representing a shift in the artificial weather environment — from a temperate greenhouse entrance, through a stormy highland mid-section, to a final sun-drenched botanical core. The transitions between these zones are marked by dramatic environmental shifts that also signal changes in map geometry and combat flow.

The map layout is characterized by a mix of tight indoor corridors and semi-open outdoor terrarium zones. Wide glass canopies overhead let in simulated sunlight and storm effects, while dense vegetation and root systems create natural cover at ground level. The payload path curves and rises in elevation during the mid-section, creating a notable uphill push that heavily favors defenders. Flanking routes weave through side greenhouse chambers filled with towering plant life, offering alternate angles but requiring careful coordination to avoid isolation.

One of Weather Terrarium's defining features is its destructible flora and interactive environmental elements. Certain large plant structures can be destroyed or displaced during combat, opening new sightlines or closing off previously viable cover positions. This dynamic element means the battlefield subtly changes as a match progresses, demanding adaptability from both attack and defense. Teams that can read and respond to these environmental shifts will find significant tactical advantages over those who rigidly follow fixed strategies.

The atmosphere of Weather Terrarium draws from Marvel's rich tradition of nature-based characters and storylines, with nods to realms like Savage Land and Krakoa visible in the facility's decor and research displays. Ambient weather effects — rolling fog in the highland zone, rain pattering on glass ceilings, and warm golden light in the final stage — do more than set the mood; they subtly affect visibility at range, making precise long-distance engagements less reliable in certain sections and emphasizing mid-range skirmishing as the dominant combat style throughout much of the map.

⚔️ Attack Tips

When attacking on Weather Terrarium, priority must be placed on establishing early flank control through the side greenhouse corridors before committing to a direct payload push. These side paths run parallel to the main route and, if controlled, allow your team to threaten defenders from two angles simultaneously. Duelists should volunteer to clear these flanks while Vanguards establish a forward presence on the payload itself. Neglecting the side corridors allows defenders to rotate freely and reinforce their choke holds without risk, making direct pushes nearly impossible to sustain.

The mid-section uphill climb is the most punishing segment for attackers and should be approached with a coordinated team surge rather than a piecemeal advance. Burning ultimates to force defenders off the high ground before committing the full team to the push is a sound investment — losing a single fight on this slope often means losing 30 to 40 seconds of payload progress. Strategists should prioritize mobile healing options on this segment, staying off the payload themselves to maintain line-of-sight to scattered teammates. Using vertical mobility abilities to gain temporary high-ground parity with defenders can completely shift the momentum of these engagements.

In the final stage push toward the botanical core, attackers gain access to a wider combat arena that somewhat levels the playing field. Take advantage of the increased space by spreading your team wider than defenders expect, forcing them to divide their attention across multiple threats. The destructible plant cover in this final zone can be strategically eliminated early to remove defender hiding spots and deny them safe retreat positions. Coordinating an ability-heavy dive onto the defending Strategists during this final phase, timed with the payload reaching the final gate trigger, is frequently the key to securing a match victory on Weather Terrarium.

🛡️ Defense Tips

Defending on Weather Terrarium begins with an aggressive first-point contest philosophy. The initial checkpoint is reachable quickly by defenders spawning from the first defense position, and early pressure on the attacking team during their setup phase can burn their resources and establish a psychological advantage. Station one mobile Duelist in each side greenhouse corridor to deny early flank establishment while your Vanguards meet the attackers at the main gateway. Winning the opening fight decisively can cost attackers up to a minute of critical match time.

The mid-section high ground is the single most important defensive real estate on the map. Holding the elevated ridge that overlooks the uphill payload path creates enormous angles that are difficult for attackers to address without specifically designed counter-strategies. Vanguards with strong area-denial abilities should anchor this high ground while Duelists punish any attacker who tries to contest the slope below. Be wary of enemy teams who send one or two players through the side paths to attempt a high-ground bypass — always maintain at least one defender watching the rear approach to the ridge. If you lose the high ground, retreat immediately to the next natural choke rather than fighting an uphill battle from below.

For the final botanical core defense, collapsing into a tight semi-circular formation around the final objective point is more effective than spreading out. The attackers will have payload momentum and potentially ultimate advantage at this stage, so a disciplined, reactive defense beats an overextended aggressive one. Use the remaining intact plant structures as cover anchors for your Strategists, keeping them alive as long as possible. Saving at least one high-impact team ultimate for the final payload stop — particularly area-denial or crowd-control ultimates — is the most reliable way to prevent attackers from completing the escort in the dying seconds of a match.


🦸 Best Heroes

🦸
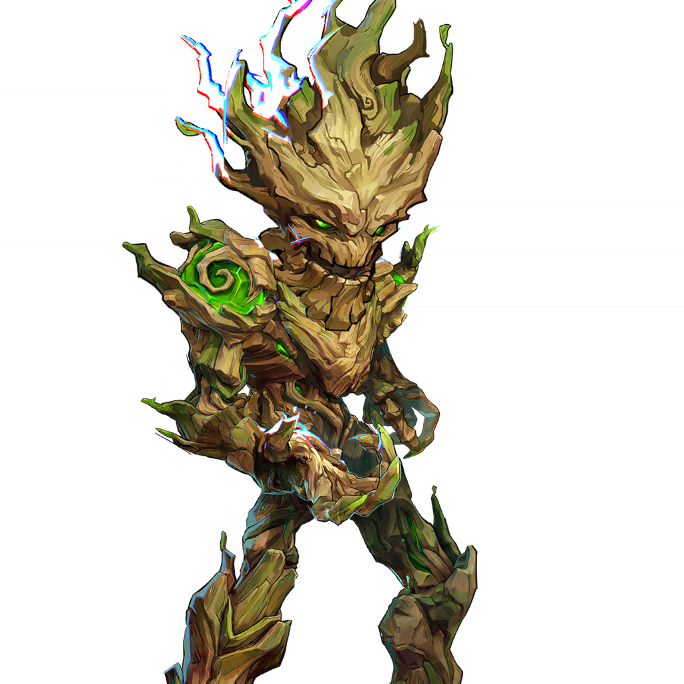
GrootVanguard
Groot's wall-generating abilities are exceptionally powerful on Weather Terrarium, where the confined corridors and choke points allow his barriers to fully seal off attacker advances or split defending teams. His walls synergize perfectly with the mid-section uphill choke, blocking payload progress entirely when placed correctly and forcing attackers to burn time and abilities destroying them.
🦸
StormDuelist
Storm thrives on Weather Terrarium due to its nature theme and the map's numerous elevated platforms and open vertical spaces within the biodome zones. Her flight mobility allows her to bypass the dense ground-level foliage, and her area-of-effect weather abilities punish teams clustered around the payload on the narrow mid-section corridor. Her ultimate is particularly devastating on the uphill chokepoint.
🦸
MantisStrategist
Mantis's healing output and ability to boost nearby allies' damage make her ideal for Weather Terrarium's sustained mid-range combat. Her seed abilities can be positioned on payload-escort teammates to maintain healing through the uphill push without requiring direct line-of-sight, solving one of the map's most common Strategist positioning challenges.
🦸
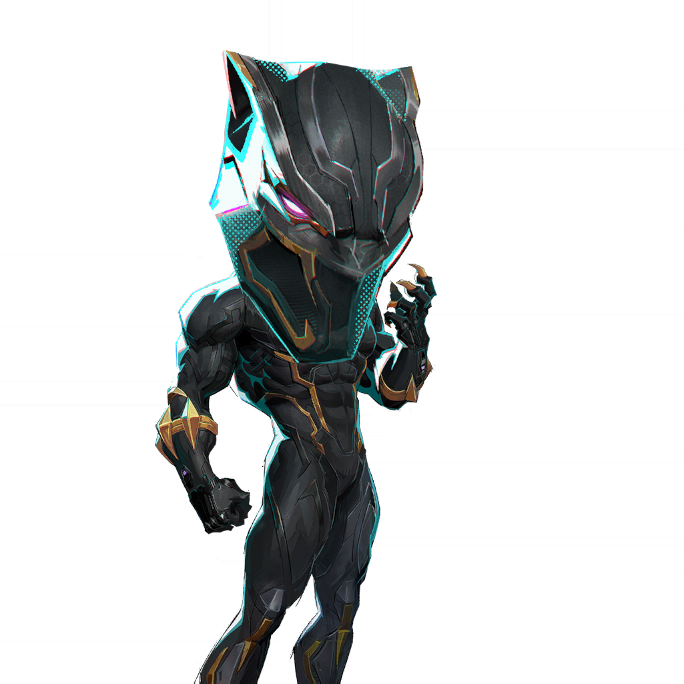
The dense vegetation and multiple levels of Weather Terrarium make Black Panther one of the most effective flankers on this map. His mobility allows him to rapidly traverse the side greenhouse corridors, engage and eliminate isolated defenders or Strategists, and retreat before the enemy team can respond. His toolkit rewards the map-awareness that Weather Terrarium's layout demands.
🦸
Strange's portal mechanics are uniquely powerful on Convergence maps, and Weather Terrarium's layout offers several ideal portal anchor points that allow him to reposition teammates from spawn to contested areas instantly. His shield dome provides crucial protection during the exposed uphill payload push, and his ultimate is effective at breaking entrenched high-ground defenders.
🦸
Scarlet Witch's area-denial chaos abilities are well-suited to Weather Terrarium's choke-heavy design. Her ability to contest space without requiring precise aim makes her effective through the foliage-filled corridors where sightlines are broken and targets move unpredictably. Her ultimate is devastating in the enclosed final botanical core zone where enemies have limited escape options.
🦸
Luna SnowStrategist
Luna Snow's flexible healing rhythm and freeze abilities give her strong utility across all three stages of Weather Terrarium. Her ability to quickly alternate between healing burst and crowd control makes her invaluable during the mid-section push where fights are prolonged and intense. Her ultimate can shift an otherwise losing team fight on the high ground into a decisive victory.

📍 Key Locations

Greenhouse Gateway
The opening checkpoint area where the payload begins its journey. Flanked by tall glass walls and early-stage plantlife, this location features the first major attacker-defender clash point. Side doors on each flank lead to the parallel greenhouse corridors, making control of this gateway a critical early-game priority that sets the tone for the entire match.

Highland Ridge
The elevated rocky outcropping overlooking the uphill mid-section payload path. This is the single most strategically significant location on the map. Defenders who hold this ridge command sightlines across the entire uphill slope, making it an almost impregnable natural fortress when properly staffed. Attackers must prioritize displacing defenders here before any sustained payload push is possible.


Side Greenhouse Corridors
Twin parallel pathways running alongside the main payload route, filled with dense tropical vegetation and winding root structures that create close-quarters combat zones. These corridors are the primary flanking routes on Weather Terrarium and grant access to rear angles on both the Highland Ridge and the Botanical Core. Teams that ignore them consistently find themselves surrounded.
Storm Chamber
A mid-map biodome section where simulated storm effects reduce long-distance visibility and create dramatic weather ambiance. The rain effects and rolling fog in this chamber meaningfully affect ranged hero effectiveness, making this segment particularly dangerous for sniper-reliant compositions and favoring close-to-mid range fighters who can push aggressively through the reduced visibility.
Botanical Core
The final delivery zone of the payload, a wide open circular arena filled with ancient and exotic plant life, towering trees, and soft golden simulated sunlight. This space is larger than earlier map sections, giving attackers more room to spread out but also giving defenders more flexibility in their final stand positioning. The destructible plant pillars in this area are key cover elements that change the engagement landscape as they are destroyed during combat.
Root Underpass
A low-ceiling underground passage running beneath the mid-section uphill slope, formed from massive interlocking tree root systems. This underpass provides a protected route for payload escort teams to avoid direct high-ground fire during the most dangerous segment of the map, though its narrow width makes it a trap if defenders rotate to cover its exit point. Timing use of this route is essential.
Defender Spawn Overlook
The elevated platform adjacent to the second-stage defender spawn that provides an immediate high-angle view of the mid-section combat zone. Defenders respawning here gain precious seconds of high-ground advantage during re-engagement, and teams that learn to use this overlook window aggressively upon respawning can delay attacker pushes significantly even after losing a team fight.
🛠 Team Builder for this Map
Build your team and see how it performs
+
+
+
+
+
+
Adam WarlockA
Adam Warlock
AngelaA
Angela
Black CatA
Black Cat
Black PantherA
Black Panther
Black WidowB
Black Widow
BladeA
Blade
Captain AmericaA
Captain America
Cloak & DaggerA
Cloak & Dagger
DaredevilA
Daredevil
DeadpoolA
Deadpool
Devil DinosaurA
Devil Dinosaur
Doctor StrangeA
Doctor Strange
Elsa BloodstoneB
Elsa Bloodstone
Emma FrostS
Emma Frost
GambitB
Gambit
GrootA
Groot
HawkeyeA
Hawkeye
HelaS
Hela
HulkB
Hulk
Human TorchA
Human Torch
Invisible WomanA
Invisible Woman
Iron FistB
Iron Fist
Iron ManS
Iron Man
Jeff the Land SharkA
Jeff the Land Shark
LokiS
Loki
Luna SnowS
Luna Snow
MagikS
Magik
MagnetoS
Magneto
MantisA
Mantis
Mister FantasticA
Mister Fantastic
Moon KnightA
Moon Knight
NamorB
Namor
Peni ParkerA
Peni Parker
PhoenixS
Phoenix
PsylockeS
Psylocke
Rocket RaccoonS
Rocket Raccoon
RogueB
Rogue
Scarlet WitchS
Scarlet Witch
Spider-ManS
Spider-Man
Squirrel GirlB
Squirrel Girl
Star-LordA
Star-Lord
StormA
Storm
The PunisherA
The Punisher
The ThingB
The Thing
ThorA
Thor
UltronA
Ultron
VenomS
Venom
White FoxA
White Fox
Winter SoldierA
Winter Soldier
WolverineA
Wolverine
★ = Recommended for Weather Terrarium
← Back to Maps