HomeMapsEmpire of Eternal Night: Midtown
Game Mode: ConvoyDark Manhattan

Empire of Eternal Night: Midtown Map Guide – Marvel Rivals

Empire of Eternal Night: Midtown is a dark, vampire-infested reimagining of Manhattan under Dracula's curse, featuring a Convoy game mode where attackers must escort a payload through fog-drenched streets and gothic architecture. The map blends tight urban corridors with elevated sightlines, rewarding teams that control high ground and flank routes aggressively.

Updated May 25, 2026
🔗 View on Wiki

Overview

Empire of Eternal Night: Midtown transforms the familiar New York cityscape into a gothic nightmare, drenched in perpetual darkness, crimson moonlight, and an oppressive fog that clings to the streets. Dracula's conquest of Manhattan has warped the environment, replacing neon billboards with arcane sigils and draping iconic skyscrapers in shadow. The atmosphere is thick and claustrophobic despite being set outdoors, creating a battlefield that feels both grand and suffocating at the same time.

The map is divided into three primary phases tied to the payload route. The first phase begins near a corrupted subway entrance plaza, pushing through wide-open but cover-rich streets flanked by abandoned taxis, overturned barricades, and crumbling storefronts. This opening stretch rewards aggressive dive compositions and gives attackers multiple angle options. The second phase tightens considerably as the payload rounds through a central midtown boulevard, passing under an elevated rail section that creates a natural choke point and a contested high-ground position above it. The third and final phase enters a dramatic open plaza in front of a gothic-transformed skyscraper, with large open sightlines punishing poorly coordinated pushes but rewarding well-timed ultimates and area-denial abilities.

Vertical play is a defining characteristic of this map. Fire escapes, balconies, rooftops of mid-rise buildings, and elevated walkways all provide meaningful high-ground advantages throughout every phase. Heroes with strong mobility or flight abilities are significantly empowered here, and teams that cede the high ground consistently will struggle to maintain payload control. The tight alleyways between buildings also serve as critical flank routes, allowing assassin-style Duelists to bypass the main choke and create pressure from unexpected angles.

The darkness and gothic aesthetic are not merely cosmetic — environmental design funnels players into specific engagement zones, with pools of dim lighting around payload checkpoints acting as natural focal points for team fights. Line-of-sight blockers are abundant in the first two phases but thin out dramatically in the final plaza, making ultimate timing and positioning discipline essential for closing out the round.

⚔️ Attack Tips

In the opening phase, attackers should resist the urge to cluster on the payload immediately. The wide street layout allows for a two-pronged approach — send one or two flankers through the alleyways on the left side while the main body of the team engages defenders head-on near the payload. This forces defenders to split attention and prevents them from fully fortifying the first natural choke point. Heroes with burst mobility like Spider-Man or Black Panther thrive in this phase, threatening the defender backline and disrupting Strategist positioning before the team commits to a main push.

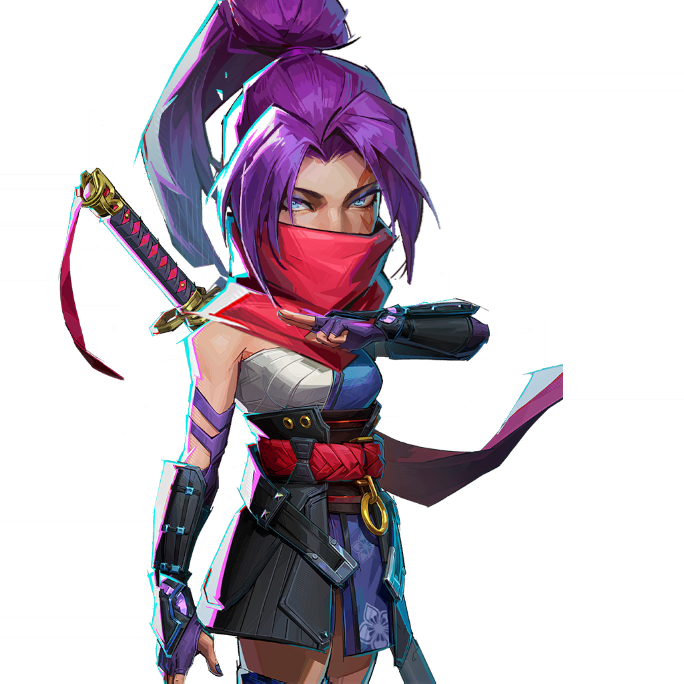
The elevated rail section in the second phase is the most critical structure on the entire map. Attackers must actively contest and ideally capture this high ground before committing to a sustained payload push through the boulevard below. If defenders hold the rail platform unchallenged, they gain dominant angles onto the payload and can stall indefinitely with minimal effort. Use heroes with strong vertical mobility — Iron Man, Storm, or Psylocke — to clear the high ground first, then transition the main team onto the payload once aerial superiority is established. Smoke or vision-blocking abilities can also be used to temporarily negate defender sightlines from the rail while the ground team advances.

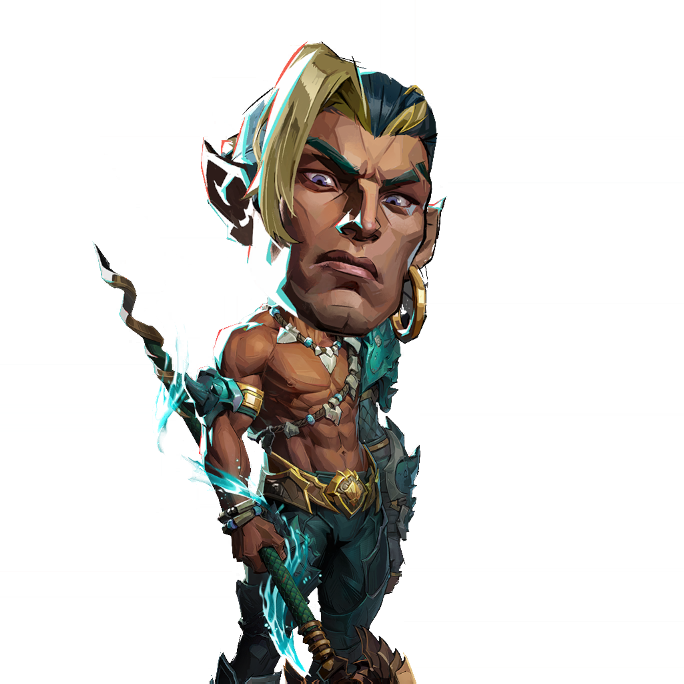
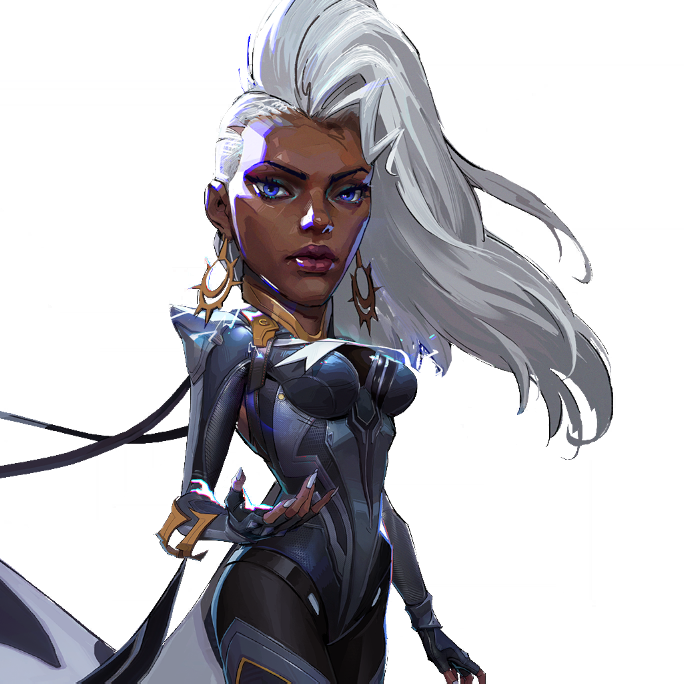
For the final plaza push, timing and ultimate coordination are everything. The open space exposes attackers during the approach, so avoid making unsupported charges. Stack ultimates before engaging — particularly area-denial and crowd-control ultimates — and trigger them simultaneously to overwhelm the defending team before they can reposition. Pushing the payload as a tight unit with a Vanguard shield-facing the skyscraper entrance is highly recommended, as defenders will typically anchor near the final checkpoint with their strongest defensive setup. A well-executed Namor turret placement or a Moon Knight ultimate in the plaza can dramatically shift the fight in attackers' favor.

🛡️ Defense Tips

Defenders should establish early aggression at the first phase rather than conceding the opening stretch freely. Deploying a Vanguard like Doctor Strange or Magneto to hold the initial street opening, combined with a Duelist watching the left alley flank, creates an effective two-layer defense that makes attackers burn significant time before reaching the first checkpoint. Do not overextend — falling back just past the first checkpoint to a pre-established secondary position is far better than committing too hard and getting wiped, which gifts attackers a momentum swing.

Owning the elevated rail platform in the second phase is the single most impactful defensive priority on the entire map. Post a hero with strong sustained damage or area denial on that platform — Hawkeye, Hela, or Punisher excel here — and protect them with a Strategist positioned just below or behind the platform structure. This elevated position gives defenders clean sightlines onto the payload and any hero attempting to escort it. If attackers begin contesting the platform, rotate a dive-capable Duelist to defend it rather than abandoning the position — losing the rail almost always results in losing the second phase quickly.

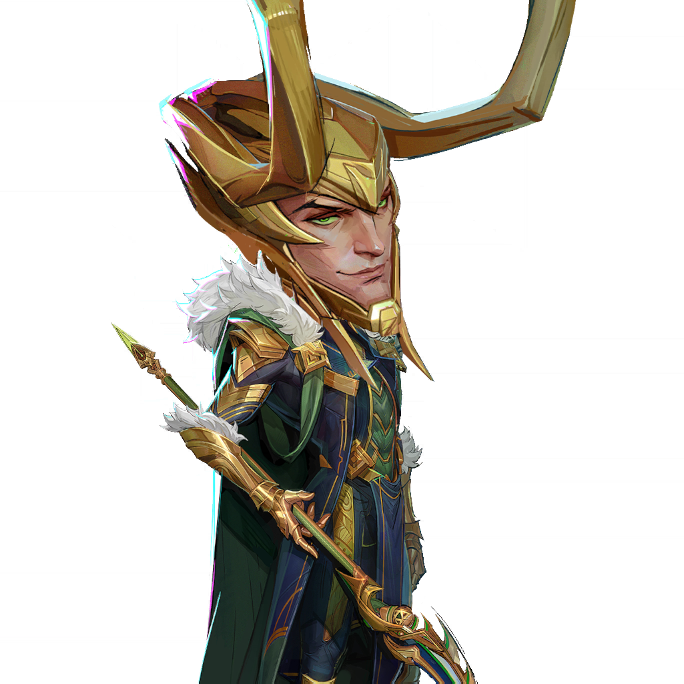
In the final plaza, defenders have the advantage of a pre-set anchor position near the skyscraper entrance. Use the building's architecture to create crossfire angles, placing one defender on a flanking side entrance and the core team central. Abilities that create zone denial — Scarlet Witch's area suppression, Magneto's debris fields, or Loki's clone misdirection — are particularly effective in the open plaza since attackers have fewer routes to avoid them. Save at least one major defensive ultimate for when the payload enters the final meters of the route, as a well-timed wipe at 99% can force attackers into overtime on unfavorable terms.

🦸 Best Heroes

🦸
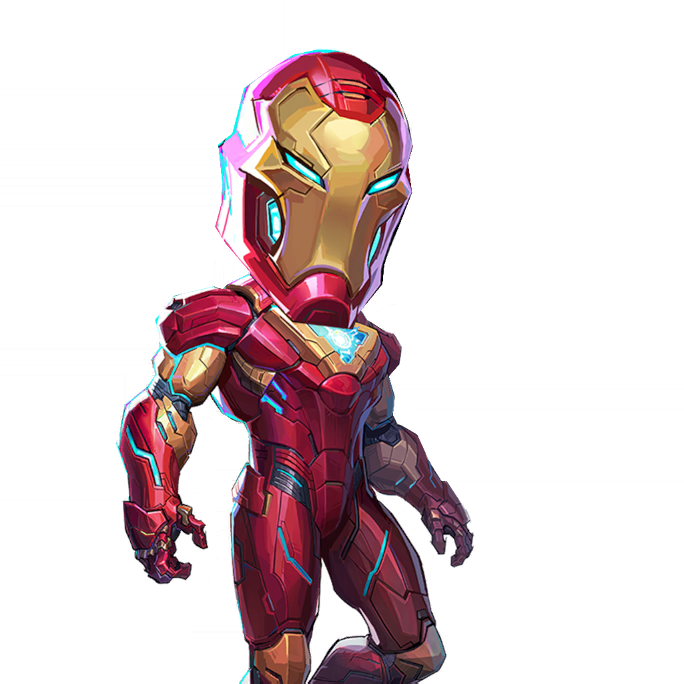
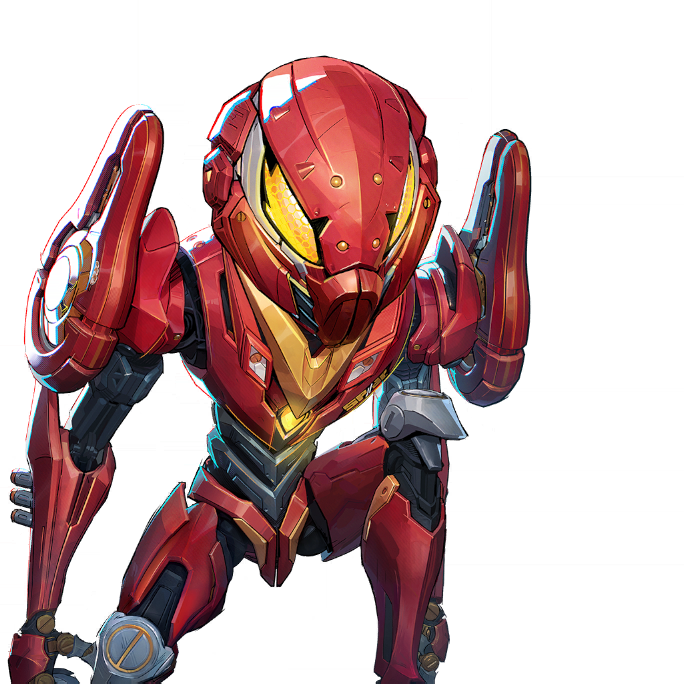
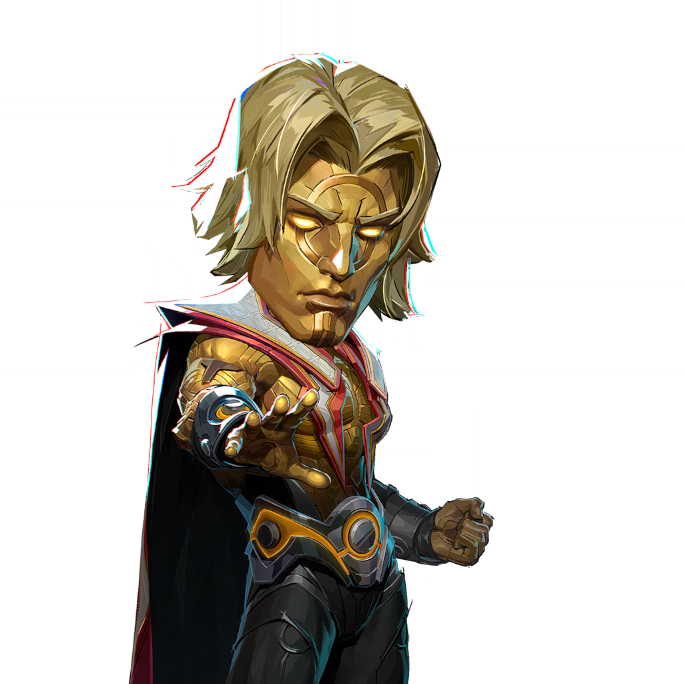
Iron Man's flight capability allows him to freely contest the critical elevated rail section and rooftop positions throughout all three phases. His Unibeam and aerial mobility make him extremely difficult to dislodge from high ground, and his ultimate is devastating in the open final plaza where enemies have limited escape options.
🦸
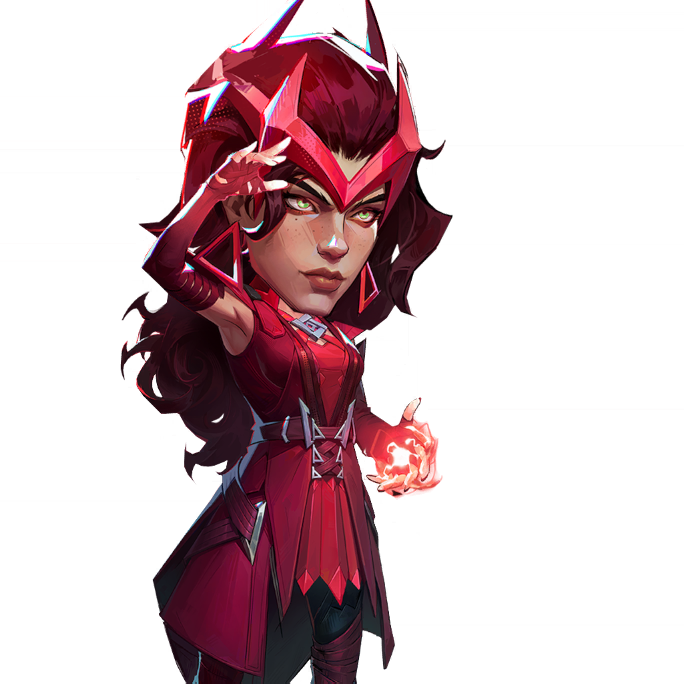
Strange's portal ability is uniquely powerful on this map, allowing him to create unexpected flank routes for his team or to rapidly reposition defenders to cover contested chokepoints. His shield provides essential protection while escorting the payload through the tight boulevard section, and his ultimate can control the final plaza engagement decisively.
🦸
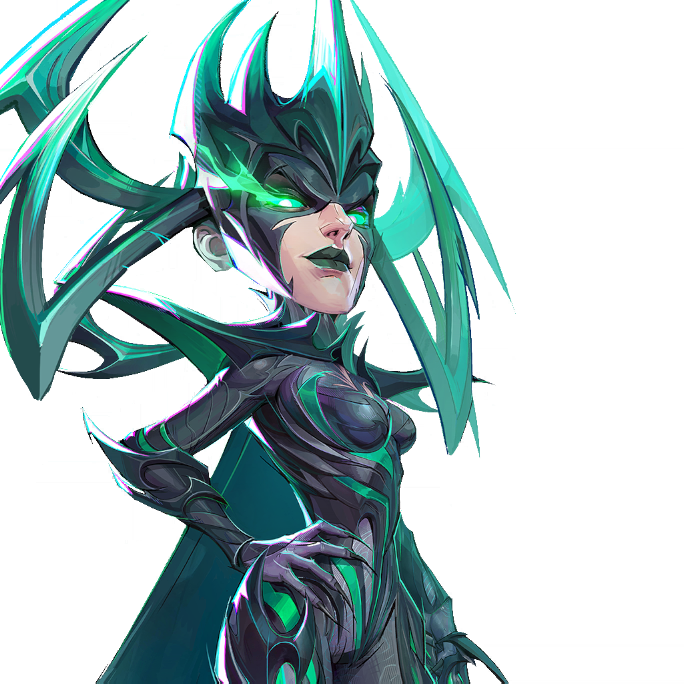
HelaDuelist
Hela's long-range projectile attacks and strong high-ground presence make her a dominant defender on the rail platform during phase two. Her flight and homing attack mechanics allow her to punish payload escort attempts from elevation, and her ultimate provides exceptional area denial in the midtown boulevard choke.
🦸
Luna SnowStrategist
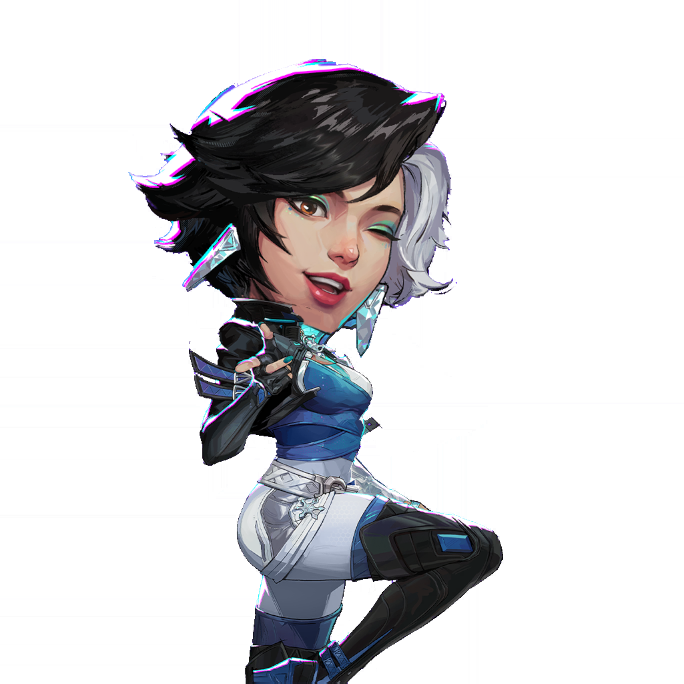
Luna Snow's mix of healing output and crowd-control through ice abilities keeps the payload escort team sustained through prolonged choke fights. Her ultimate provides a team-wide heal and damage buff that is especially impactful during the dangerous final plaza push where teams take concentrated fire.
🦸
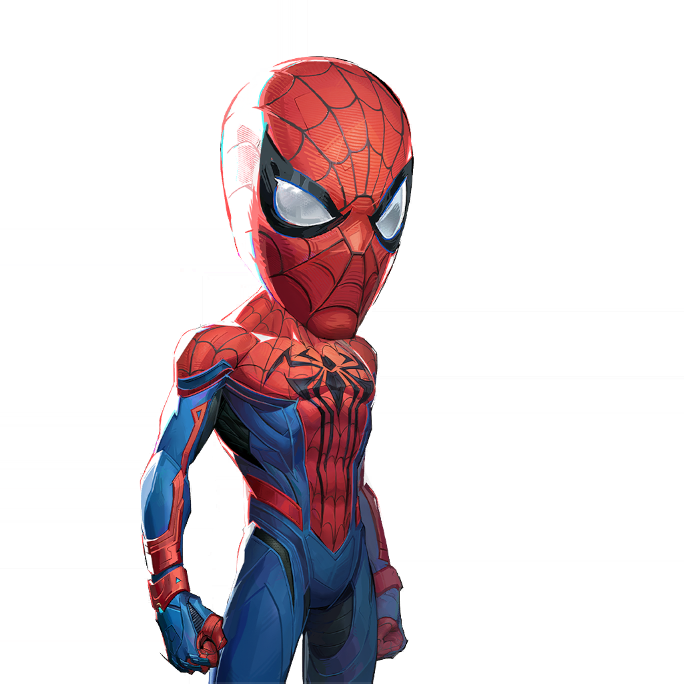
Spider-Man's web-swinging movement is ideally suited to the vertical architecture of this dark Manhattan map. He can rapidly traverse between alleyway flanks, contest rooftops, and dive Strategists hiding behind the rail platform — all while being difficult to pin down. His harassment potential in the first phase is among the highest of any hero on this map.
🦸
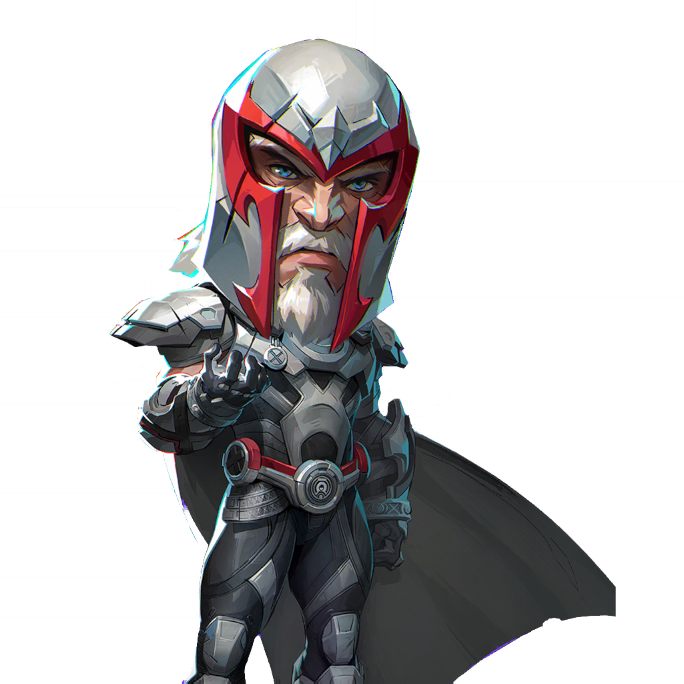
MagnetoVanguard
Magneto's debris-manipulation abilities interact well with the abundance of destroyed vehicles and urban wreckage scattered throughout Midtown's streets. He can create improvised barriers to shield the payload in open areas, and his ultimate is one of the most effective tools for breaking a dug-in defensive position in the final plaza.
🦸
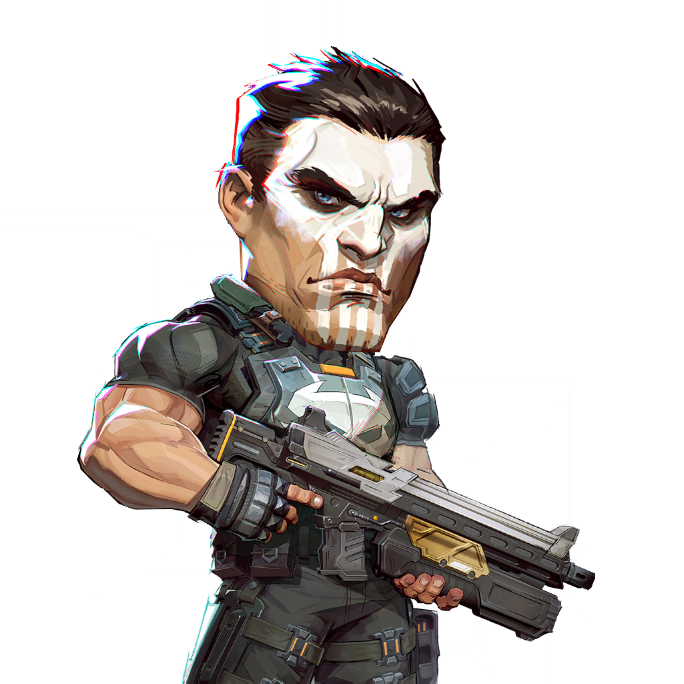
Punisher excels from the elevated rail position in phase two, where his high sustained damage output and turret deployable can lock down the payload corridor below. His minigun ultimate is particularly effective in the tight boulevard section where enemies have limited lateral movement to avoid it.
🦸
Cloak & Dagger's dual offense and support role is well-suited to the dynamic fight conditions of this map. Dagger's healing light orbs can cover payload escorts across open ground while Cloak's darkness abilities provide vision denial and teleport utility that pairs exceptionally well with flanking compositions on the alleyway routes.

📍 Key Locations

Corrupted Subway Plaza (Phase 1 Start)
The opening area of the payload route, featuring a wide street flanked by abandoned vehicles, debris barricades, and darkened storefronts. This zone offers multiple approach angles and is where early flanking through left-side alleys is most effective. The first payload checkpoint is located here, making it a critical early contest point.
Midtown Boulevard Choke
The central corridor of the map and the most consistently contested area. The boulevard narrows between mid-rise buildings, creating a natural funnel that forces teams into close engagement. Most team fights on this map occur here, and controlling the flow of this choke through shield placement or area denial is the key to winning the second phase.
Elevated Rail Platform
Positioned above the midtown boulevard in the second phase, this platform is the single most strategically important structure on the map. It provides dominant sightlines onto the payload route below and gives high-ground heroes a massive advantage. Both teams should prioritize controlling this position — losing it almost always results in losing the associated phase.
Left Alleyway Flank Route
A narrow alleyway running parallel to the main payload route through phases one and two. This route is the primary flanking path for Duelists looking to bypass the main choke and pressure the enemy backline. It is wide enough for two heroes to move through side-by-side but offers very little cover once you emerge, requiring commitment and timing.
Gothic Skyscraper Final Plaza
The dramatic open plaza in front of a Dracula-corrupted skyscraper that marks the final checkpoint area. With minimal cover and wide-open sightlines, this zone heavily punishes uncoordinated pushes and rewards teams with strong area-denial ultimates. The final payload checkpoint sits at the base of the skyscraper entrance, making this the site of the most intense and decisive team fights.
Fire Escape Network
A series of interconnected fire escapes and balconies running along the exterior of buildings throughout the first and second phases. These structures provide mid-level elevation without requiring flight, making them accessible to a wider range of heroes. They serve as secondary high-ground positions and alternative approaches to the rail platform.
Second Checkpoint Intersection
The crossroads area between the boulevard and the final plaza approach, marking the transition from the second to third phase. This intersection is often where defending teams regroup after losing the rail platform and attempt to establish a new defensive anchor. Attackers who push through here with full ultimates can carry momentum directly into the final fight.
🛠 Team Builder for this Map
Build your team and see how it performs
+
+
+
+
+
+
Adam WarlockA
Adam Warlock
AngelaA
Angela
Black CatA
Black Cat
Black PantherA
Black Panther
Black WidowB
Black Widow
BladeA
Blade
Captain AmericaA
Captain America
Cloak & DaggerA
Cloak & Dagger
DaredevilA
Daredevil
DeadpoolA
Deadpool
Devil DinosaurA
Devil Dinosaur
Doctor StrangeA
Doctor Strange
Elsa BloodstoneB
Elsa Bloodstone
Emma FrostS
Emma Frost
GambitB
Gambit
GrootA
Groot
HawkeyeA
Hawkeye
HelaS
Hela
HulkB
Hulk
Human TorchA
Human Torch
Invisible WomanA
Invisible Woman
Iron FistB
Iron Fist
Iron ManS
Iron Man
Jeff the Land SharkA
Jeff the Land Shark
LokiS
Loki
Luna SnowS
Luna Snow
MagikS
Magik
MagnetoS
Magneto
MantisA
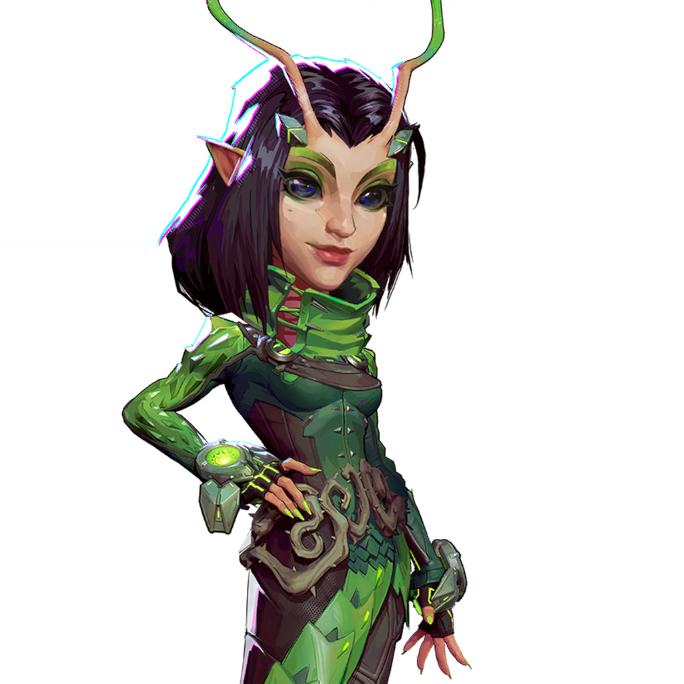
Mantis
Mister FantasticA
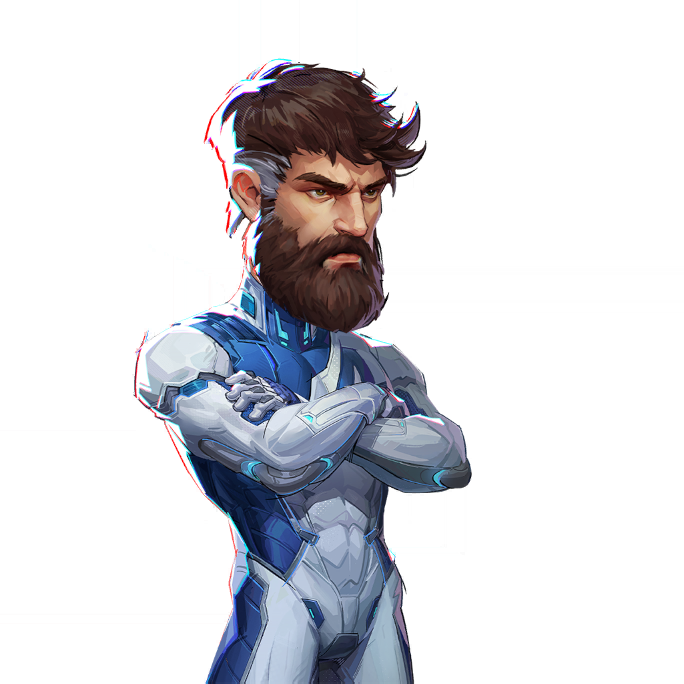
Mister Fantastic
Moon KnightA
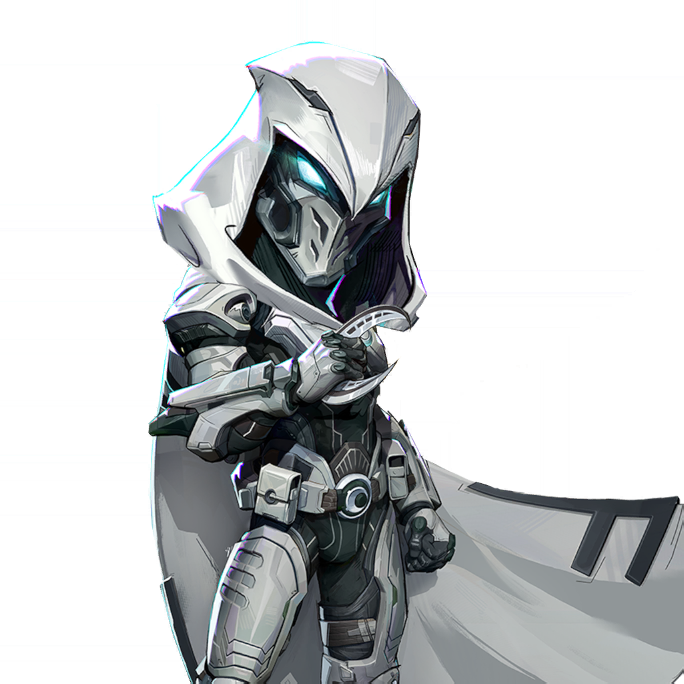
Moon Knight
NamorB
Namor
Peni ParkerA
Peni Parker
PhoenixS
Phoenix
PsylockeS
Psylocke
Rocket RaccoonS
Rocket Raccoon
RogueB
Rogue
Scarlet WitchS
Scarlet Witch
Spider-ManS
Spider-Man
Squirrel GirlB
Squirrel Girl
Star-LordA
Star-Lord
StormA
Storm
The PunisherA
The Punisher
The ThingB
The Thing
ThorA
Thor
UltronA
Ultron
VenomS
Venom
White FoxA
White Fox
Winter SoldierA
Winter Soldier
WolverineA
Wolverine
★ = Recommended for Empire of Eternal Night: Midtown
← Back to Maps