Hell's Heaven Map Guide – Marvel Rivals Domination Strategy
Hell's Heaven is a fiery, infernal Domination map in Marvel Rivals set across a twisted realm where heaven and hell collide. Teams battle for control points amid crumbling celestial architecture, molten rivers, and demonic structures. Mastering the verticality and chokepoints of this map is essential for securing victory.
Overview
Hell's Heaven is one of Marvel Rivals' most visually striking maps, blending angelic ruins with hellish, molten landscapes to create a uniquely chaotic battlefield. The map is set across a collapsed divine realm overtaken by infernal forces, featuring cracked marble pillars, rivers of lava, scorched golden archways, and smoldering demonic altars. The contrast between celestial and infernal architecture is not merely cosmetic — it directly influences how the map flows, with open angelic plazas giving way to tight demonic corridors and vice versa.
The map operates on a standard three-point Domination layout, with control points labeled A, B, and C. Point A sits in a relatively open celestial courtyard near one team's spawn, flanked by broken columns that offer partial cover but limited high ground. Point B, the central objective, is the most contested area on the map — a massive infernal altar surrounded by elevated walkways, lava channels on either flank, and multiple entry routes converging from all directions. Point C mirrors Point A in structure but leans more heavily into the demonic aesthetic, featuring enclosed archways and a tighter surrounding geometry that rewards close-range fighters.
Verticality is a defining characteristic of Hell's Heaven. Elevated catwalks and ruined balconies overlooking each control point create natural sniper and flanking positions, while the lava channels beneath certain pathways serve as environmental hazards that punish overextension. Teams that ignore the high ground consistently find themselves at a disadvantage, particularly around the central Point B altar where elevation control can dictate the entire match's momentum.
The map's atmosphere also plays a psychological role — the constant ambient rumbling, bursts of hellfire, and collapsing architecture create a sense of urgency and chaos. Despite this, the map has a well-defined rotational structure: a main boulevard connects all three points, while side passages and flank routes allow aggressive players to bypass the front lines. Understanding when to commit to the main path versus when to exploit flank routes is the core strategic challenge Hell's Heaven presents to both teams.
⚔️ Attack Tips
When attacking on Hell's Heaven, prioritizing Point B early is a double-edged strategy. While securing the central altar gives your team a dominant position, the multiple entry angles mean you will almost always be engaging enemies from unfavorable positions on your initial push. Instead, consider establishing early control of Point A or C — whichever is closer to your spawn — to build team momentum and ultimate charge before committing to the high-risk central fight. Rotating with full ultimates and coordinated pushes onto Point B dramatically increases your odds of holding it long enough to generate meaningful capture progress.
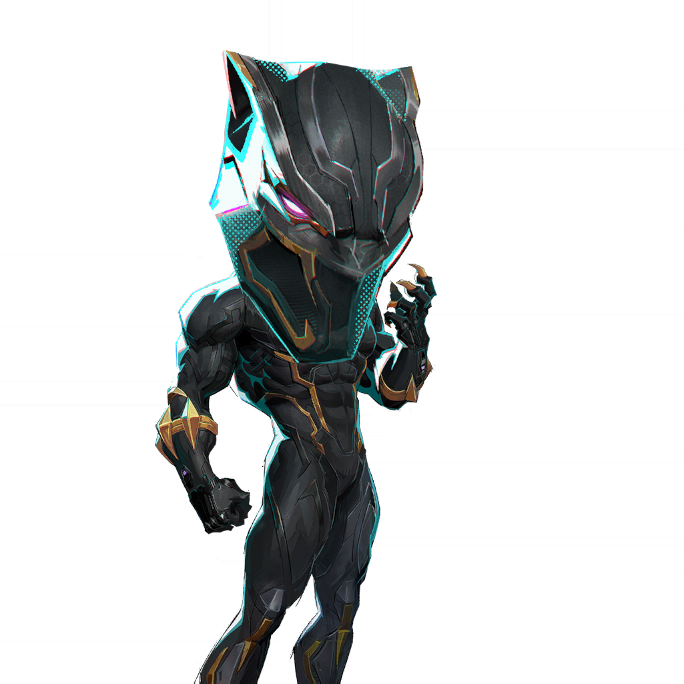
Flanking is exceptionally rewarding for attackers on this map. The side lava channel paths that run parallel to the main boulevard are frequently underutilized, particularly in lower-ranked lobbies. Sending one or two mobile Duelists through these routes while your main team engages the defenders head-on can fracture defensive formations and force healers and supports out of position. Heroes with strong mobility — such as Spider-Man, Black Panther, or Psylocke — thrive in these flanking corridors, where their agility lets them navigate the environmental hazards while pressuring backline Strategists.
Attackers should also be mindful of ultimate economy around Point B's elevated walkways. Defenders will frequently position Strategists on the high ground to maximize heal coverage, and attackers who ignore this positioning will sustain heavy losses even through successful captures. Dedicating a Duelist to clearing high-ground threats before the main push, or using area-denial ultimates like Doctor Strange's Maelstrom of Madness or Scarlet Witch's Reality Erasure to suppress elevated defenders, significantly smooths out contested capture attempts on the central objective.
🛡️ Defense Tips
Defending on Hell's Heaven requires disciplined positioning rather than aggressive forward pressure. Holding Point B with even one player while the rest of your team anchors Point A or C forces attackers into a resource-splitting dilemma — they must either contest all three points simultaneously or concede control of at least one, both of which are difficult propositions. A well-organized defensive rotation, where players peel off to reinforce contested points rather than abandoning their anchor positions entirely, is the foundation of a strong Hell's Heaven defense.
The elevated walkways and balconies surrounding Point B are the single most important real estate for defenders. A Strategist positioned on the high-ground catwalk overlooking the central altar can maintain line-of-sight on most of the capture zone while staying relatively protected from ground-level fire. Pairing this with a Vanguard anchoring the altar itself and a Duelist watching the lava-channel flank creates a three-layer defensive structure that is difficult for attackers to dismantle without coordinated ultimates. Heroes like Luna Snow, Invisible Woman, or Loki excel in the elevated Strategist role due to their ability to project healing or disruption across wide areas.
Defenders should resist the temptation to hard-commit to choke points in the main boulevard leading into each control point. While funneling attackers through a chokepoint sounds advantageous, Hell's Heaven's numerous side entrances mean that over-committing to a single chokehold almost always results in getting flanked through the lava corridors. A more effective defensive philosophy is a semi-aggressive mid-point defense — meeting attackers approximately halfway between the spawn line and the control point — which denies them the cover of the objective's surrounding structures while still giving defenders room to fall back if the push becomes overwhelming.