HomeMapsHYDRA Charteris Base
Game Mode: DominationHYDRA

HYDRA Charteris Base Map Guide – Marvel Rivals Domination

HYDRA Charteris Base is a Domination map set deep within a fortified HYDRA compound, featuring tight corridors, elevated platforms, and a central control point that demands constant team coordination. The map's industrial HYDRA aesthetic blends underground bunkers with open courtyards, creating a dynamic battleground that rewards both aggressive flanking and disciplined point defense.

Updated May 25, 2026
🔗 View on Wiki

Overview

HYDRA Charteris Base drops players into a sprawling underground military installation operated by HYDRA, complete with green-lit laboratories, weapon storage bays, and heavily reinforced command structures. The map is divided into three primary zones: the outer approach corridors on each team's spawn side, a mid-section courtyard with partial cover, and the central Domination point situated beneath a large HYDRA insignia in an open command chamber. The symmetrical-yet-layered design means both teams have roughly equal access routes, but positional awareness quickly separates coordinated squads from disorganized ones.

The central point is the heart of all conflict on this map. It sits in a semi-open area flanked by two raised catwalks on either side, giving verticality-focused heroes a significant advantage when contesting or denying captures. Below the catwalks are two tunnel entrances — one from each team's side — that feed directly onto the point, making them critical choke corridors that see heavy traffic throughout every match. The point itself offers minimal natural cover, meaning teams that attempt to capture without establishing catwalk or flank control will be punished severely by ranged and area-denial abilities.

Beyond the central chamber, each side of the map features branching paths: a high road that runs along the upper catwalk level and a low road through the industrial tunnels. These parallel routes allow for split pushes and surprise flanks, but they also mean that a team caught out of position can be attacked from multiple angles simultaneously. Health packs are scattered near the tunnel mouths and behind crates in the mid courtyard, making those secondary positions highly contested even outside of point fights.

The HYDRA theme permeates every visual detail — propaganda banners, glowing energy cores, caged weapons caches, and the ever-present green-and-yellow color palette create an oppressive atmosphere that reinforces the high-stakes feel of each engagement. Environmental hazards like electrified fencing near certain flanking routes add a layer of map awareness that experienced players learn to exploit against aggressive divers.

⚔️ Attack Tips

When attacking the central Domination point on HYDRA Charteris Base, your first priority should be establishing catwalk control before ever committing bodies to the point itself. Sending a mobile Duelist — such as Spider-Man or Black Panther — up one of the high routes to pressure or clear the enemy catwalk creates enormous downstream value, as it removes the high ground angle that defenders rely on to deny point captures. Coordinate this flanking pressure with a simultaneous tunnel push so defenders are forced to split their attention between two threats. Avoid funneling your entire team through a single tunnel, as a single area-denial ability like Doctor Strange's shield or Scarlet Witch's chaos field can stall your entire push.

Resource management around the health pack locations is critical for sustained attacking momentum. Before committing to a full point contest, have one team member — ideally your Strategist — anchor near the courtyard health pack to maintain sustain for the team without exposing themselves to crossfire. Once your team has secured both catwalk positions and at least one tunnel mouth, the point becomes far easier to contest because defenders lose their sightlines and must come to you rather than hold static angles. Use Ultimate abilities offensively during these coordinated pushes rather than saving them; a well-timed Thor or Hulk Ultimate can instantly clear defenders off the point and give your team the capture window needed to build percentage.

Against entrenched defenses, do not repeatedly push the same tunnel if it is being shut down — the map's dual-route design specifically rewards teams that adapt. Rotate through the alternate tunnel or push via the catwalk to force defenders to reposition, opening up the primary push lane in the process. Communication is the difference-maker here: call out which route is being heavily defended and have your team respond fluidly rather than grinding into a defended choke repeatedly.

🛡️ Defense Tips

Defending on HYDRA Charteris Base is fundamentally about catwalk ownership and tunnel denial. Station your most durable Vanguard at one tunnel entrance and position a long-range Duelist or zoning Strategist on the opposite catwalk to create overlapping fields of fire that cover the entire central point. This cross-coverage means attackers contesting the point from one tunnel will be exposed to fire from the catwalk they cannot easily reach mid-fight. Anchoring both elevation and ground-level positions simultaneously is what separates strong defensive setups from ones that collapse under coordinated attack.

Do not over-commit to standing directly on the point while defending — the open nature of the central chamber means you will absorb significant damage from tunnel choke abilities and catwalk snipers if you cluster there. Instead, hold just outside the point boundary on whichever side your team is strongest, and only move onto the point to reset the capture ticker when attackers disengage or are eliminated. This off-point defensive posture preserves your health, gives you better cover, and forces attackers to fully commit and expose themselves before they gain any capture progress.

Save your defensive Ultimates — such as Magneto's metal sphere, Thor's lightning field, or Adam Warlock's revival — for the moments when attackers have committed their own Ultimates and are fully contesting the point. Burning your defensive cooldowns in the tunnel approach rather than at the point itself is a common mistake that leaves your team without answers during the actual capture contest. Additionally, assign one fast mobile hero as a flank watcher; the upper catwalk route is a favorite path for enemy Duelists looking to assassinate your Strategists, and having someone dedicated to patrolling that high road prevents your backline from being picked apart during key defensive holds.

🦸 Best Heroes

🦸
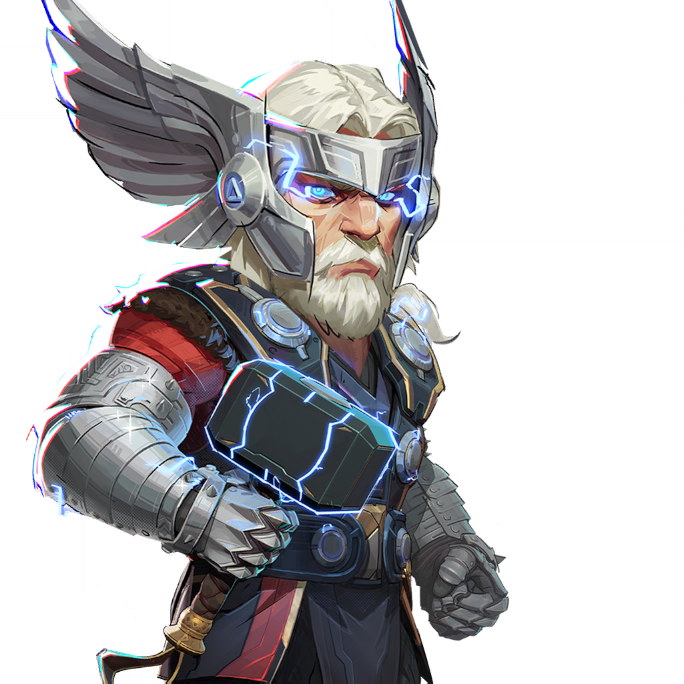
ThorVanguard
Thor's hammer throw and area-of-effect ground slam abilities are exceptionally powerful in HYDRA Charteris Base's confined tunnel entrances and the open central point. His Ultimate ability can instantly clear clustered defenders or attackers off the point, and his mobility lets him contest the catwalk high ground while maintaining Vanguard durability.
🦸
Spider-Man's web-swinging mobility allows him to rapidly traverse between the low tunnels and upper catwalks, making him one of the most disruptive flankers on this map. He excels at picking off isolated Strategists on the catwalks and retreating before defenders can respond, consistently creating the distraction needed for his team to push the point.
🦸
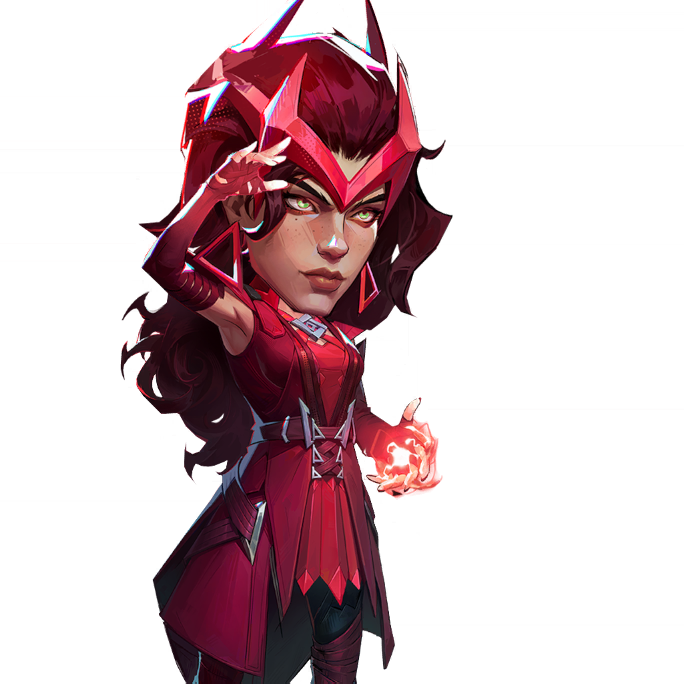
Scarlet Witch's chaos orb and area-denial abilities are devastating in the narrow tunnel choke points leading to the central Domination point. Her ability to project persistent energy fields makes her an excellent point-denial hero, and her self-sustain through ability cycling allows her to hold the point longer than most Duelists.
🦸
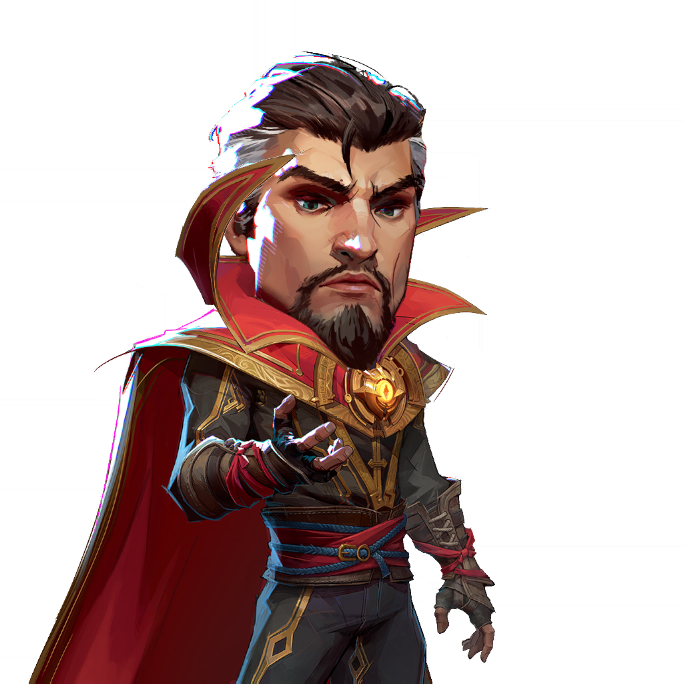
Doctor Strange's shield and portal abilities make him uniquely suited to HYDRA Charteris Base's multi-route layout. His shield can completely shut down a tunnel choke push, and his portal allows for rapid repositioning between catwalk and tunnel defense. As a point anchor he is nearly unmatched thanks to his combination of personal durability and team utility.

🦸
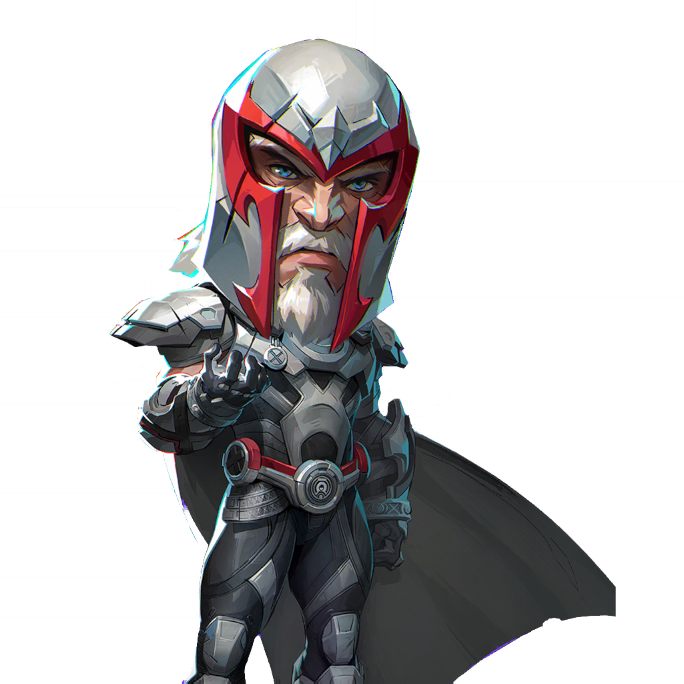
MagnetoVanguard
Magneto's projectile absorption shield is extremely strong in the confined spaces of the HYDRA base tunnels, negating the ranged poke that attackers rely on before committing to the point. His metal sphere Ultimate is one of the best defensive point-clear abilities in the game and pairs perfectly with this map's open central chamber.
🦸
Luna SnowStrategist
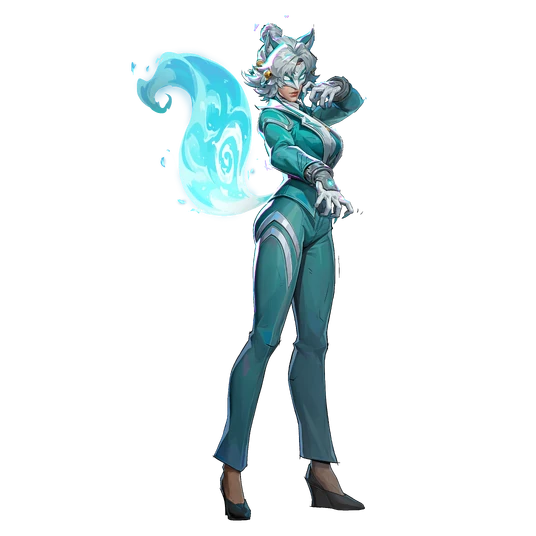
Luna Snow's healing output and zone-control ice abilities give her team sustained presence on the central Domination point during prolonged capture contests. Her Ultimate provides a full-team damage boost that can swing decisive fights on the point, and her slowing effects synergize well with teammates holding tunnel chokepoints.
🦸
The elevated catwalks on HYDRA Charteris Base are tailor-made for Hawkeye's long-range precision playstyle. He can safely apply consistent pressure across the open central point from catwalk positions, punish enemies standing in tunnel mouths, and use his trick arrows to zone critical health pack locations the enemy team depends on for sustain.
🦸
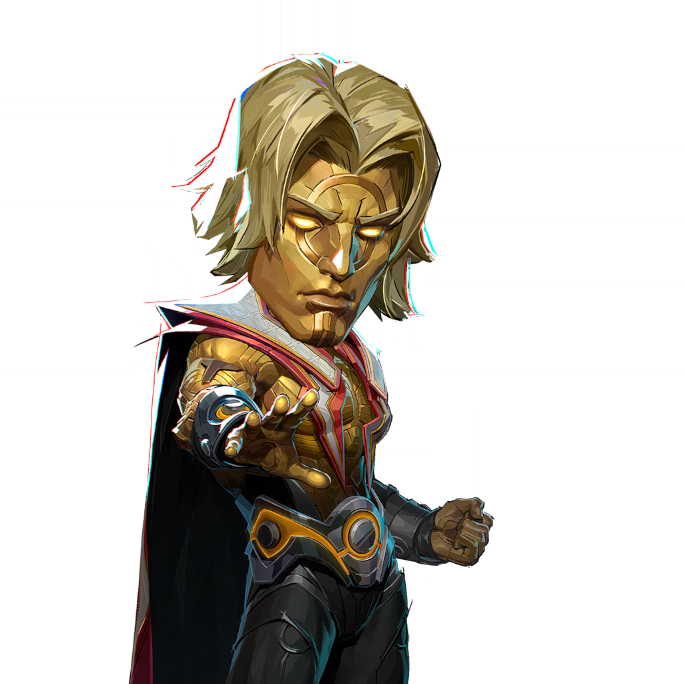
Adam Warlock's team resurrection Ultimate is particularly impactful on a Domination map where winning a single team fight on the point can swing significant capture percentage. His soul bond healing and mobile kit allow him to support both tunnel pushers and catwalk fighters without being pinned to one location, making him a highly flexible backline anchor.

📍 Key Locations

Central Command Point
The primary Domination objective located in the heart of the HYDRA base beneath a large emblazoned HYDRA insignia. This open chamber is flanked on both sides by elevated catwalks and fed by two tunnel entrances, making it difficult to hold without controlling surrounding high ground. All major team fights converge here and it offers minimal natural cover for those standing directly on the capture zone.
East and West Catwalks
Elevated walkways running parallel above the central point on both sides of the map. These positions provide critical high-ground sightlines across the entire capture zone and the opposing tunnel mouth, making them the most strategically valuable real estate on the map. Teams that own both catwalks simultaneously make point capture by the enemy nearly impossible.
North and South Tunnel Entrances
The two primary ground-level approach corridors connecting each team's spawn area to the central point. These tight chokepoints are where the majority of sustained combat occurs, as they are the fastest and most direct routes to the objective. Area-denial abilities used in these tunnels are extraordinarily effective and defending teams prioritize controlling these mouths above almost any other position.
Mid Courtyard
An intermediate open area between the spawn corridors and the central command chamber, dotted with crates and partial cover structures. This transitional zone contains key health pack spawns that both teams contest throughout the match. It serves as a staging ground for coordinated team pushes and is often where early skirmishes break out before the main point fight develops.
Catwalk Health Pack Alcoves
Small recessed areas along the catwalk routes that contain health pickups critical for sustaining high-ground positions through prolonged fights. Heroes holding the catwalks who can safely access these alcoves between engagements significantly extend their uptime on the elevated positions, making knowledge of these locations a notable advantage for experienced players.
HYDRA Weapons Cache Rooms
Side rooms branching off the main tunnel corridors that provide alternate flanking paths around the direct tunnel approach to the point. Aggressive Duelists use these rooms to bypass tunnel defenders and appear in the enemy backline unexpectedly. They are also common hiding spots for Strategists who need to heal from a safe distance during contested point fights.
Spawn Zone Transition Corridors
The areas immediately outside each team's spawn that funnel players into either the high catwalk route or the low tunnel route. Early round positioning decisions made here — whether to split the team across both routes or stack one — set the tempo for the entire round. Teams that send scouts through both routes simultaneously gain critical information about the enemy's initial setup.
🛠 Team Builder for this Map
Build your team and see how it performs
+
+
+
+
+
+
Adam WarlockA
Adam Warlock
AngelaA
Angela
Black CatA
Black Cat
Black PantherA
Black Panther
Black WidowB
Black Widow
BladeA
Blade
Captain AmericaA
Captain America
Cloak & DaggerA
Cloak & Dagger
DaredevilA
Daredevil
DeadpoolA
Deadpool
Devil DinosaurA
Devil Dinosaur
Doctor StrangeA
Doctor Strange
Elsa BloodstoneB
Elsa Bloodstone
Emma FrostS
Emma Frost
GambitB
Gambit
GrootA
Groot
HawkeyeA
Hawkeye
HelaS
Hela
HulkB
Hulk
Human TorchA
Human Torch
Invisible WomanA
Invisible Woman
Iron FistB
Iron Fist
Iron ManS
Iron Man
Jeff the Land SharkA
Jeff the Land Shark
LokiS
Loki
Luna SnowS
Luna Snow
MagikS
Magik
MagnetoS
Magneto
MantisA
Mantis
Mister FantasticA
Mister Fantastic
Moon KnightA
Moon Knight
NamorB
Namor
Peni ParkerA
Peni Parker
PhoenixS
Phoenix
PsylockeS
Psylocke
Rocket RaccoonS
Rocket Raccoon
RogueB
Rogue
Scarlet WitchS
Scarlet Witch
Spider-ManS
Spider-Man
Squirrel GirlB
Squirrel Girl
Star-LordA
Star-Lord
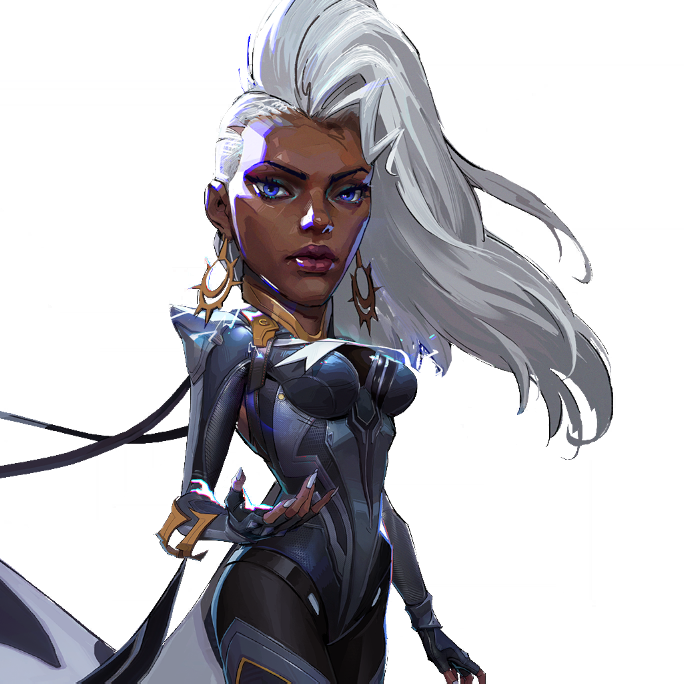
StormA
Storm
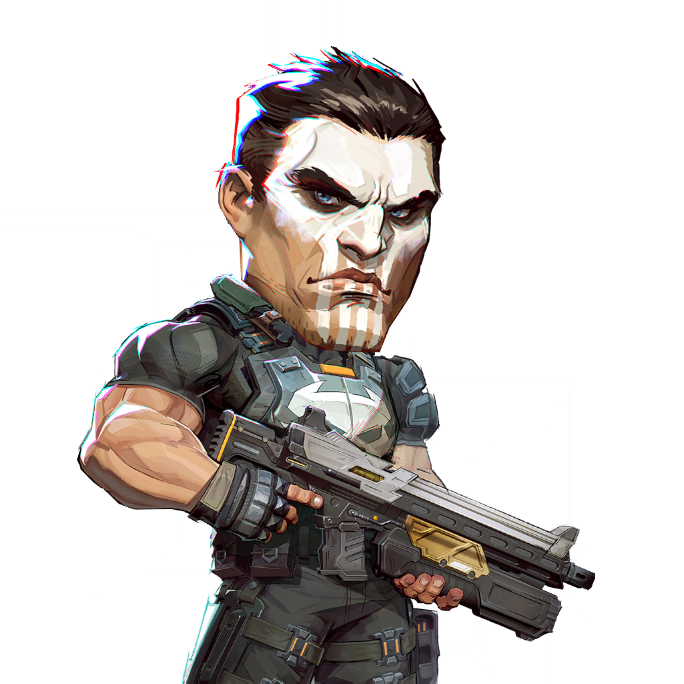
The PunisherA
The Punisher
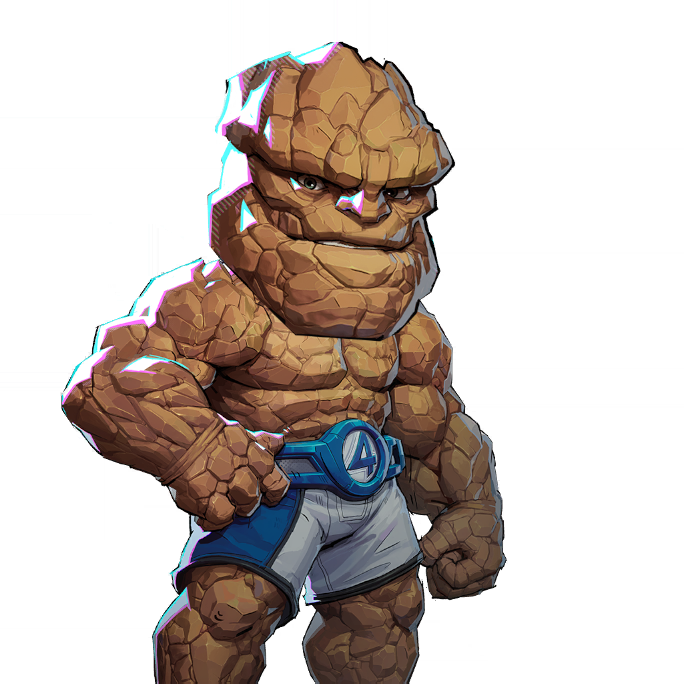
The ThingB
The Thing
ThorA
Thor
UltronA
Ultron
VenomS
Venom
White FoxA
White Fox
Winter SoldierA
Winter Soldier
WolverineA
Wolverine
★ = Recommended for HYDRA Charteris Base
← Back to Maps