Tokyo 2099: Kaminarimon Company Map Guide – Marvel Rivals Convoy
Tokyo 2099: Kaminarimon Company is a neon-drenched cyberpunk convoy map set in a futuristic version of Tokyo's iconic Asakusa district, reimagined as a corporate megacity ruled by the Kaminarimon Company. Teams battle through elevated highways, cramped alleyways, and glowing market streets as attackers push a payload through three distinct checkpoint phases.
Overview
Tokyo 2099: Kaminarimon Company drops players into a densely layered cyberpunk cityscape where every street corner pulses with holographic advertisements, floating drone traffic, and the architectural chaos of old Tokyo retrofitted with towering corporate infrastructure. The map is set across multiple elevation levels, with the payload route winding through a lower street level, a mid-tier market district, and finally ascending toward the Kaminarimon Company's heavily fortified gateway checkpoint. This vertical complexity is one of the map's defining characteristics, rewarding heroes with mobility and punishing teams that ignore high-ground control.
The convoy route is divided into three major segments. The first stretch begins at the payload spawn in a wide, rain-slicked boulevard flanked by market stalls and low-rise storefronts, offering modest cover but relatively open sightlines. The second segment pushes through a tighter alley network beneath elevated train tracks and corporate billboards, dramatically narrowing the playspace and creating intense close-quarters skirmishes. The final stretch opens up slightly as the payload approaches the iconic Kaminarimon gate itself, but defenders gain access to powerful high-ground positions on elevated walkways and second-floor interiors that overlook the final push zone.
A key feature of this map is its interconnected flank routes. Side alleys and back passages run parallel to the main convoy route, allowing aggressive duelists and strategists to rotate around chokepoints and apply pressure from unexpected angles. These flanking corridors are narrower and harder to contest, making them extremely dangerous if left unmonitored by the defending team. Smart teams will always dedicate at least one hero to tracking enemy flankers using these side passages.
The atmosphere of Tokyo 2099 is more than cosmetic — the map's geometry actively shapes gameplay. Overhanging neon signs and elevated platforms create natural perches for snipers and dive heroes alike, while the rain-wet streets and tight corridors under the train tracks funnel fights into predictable but highly contested spaces. Understanding the map's three-dimensional layout, rather than simply following the payload path, is the key to mastering Kaminarimon Company.
⚔️ Attack Tips
When attacking on Kaminarimon Company, establishing early map presence outside your spawn is critical before committing to the payload. The initial boulevard section rewards aggressive forward positioning — send a duelist or mobile vanguard ahead to contest the first natural choke at the market district entrance and prevent defenders from setting up a deep hold. If defenders are allowed to anchor at the covered market stalls with full team support, breaking that hold becomes costly. Use the side alley to the left of the main road to create a two-pronged approach that forces defenders to split their attention.
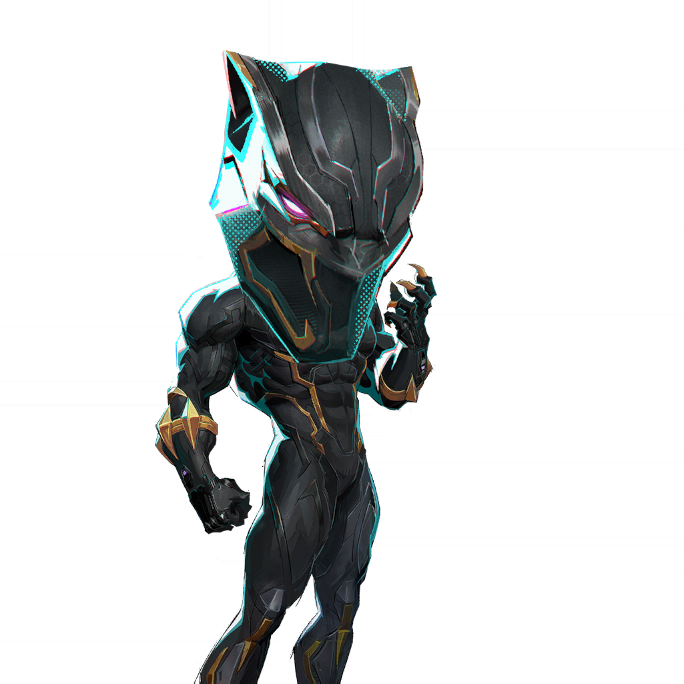
The underpass section beneath the elevated train tracks is the most brutal chokepoint on the map for attacking teams. Never simply funnel the entire team through the main corridor — this is where defenders excel at funneling damage into a single kill zone. Instead, send flankers through the narrow back-right passage that loops behind the defender position, forcing them to either reposition or fight on two fronts simultaneously. High-mobility heroes like Spider-Man or Black Panther can use the ceiling supports and train track beams above the underpass to avoid the main sightline entirely and drop onto the defender backline. Coordinate this flank with a frontal push to maximize pressure.
For the final gate push, time is often the deciding factor, so tempo matters enormously. The Kaminarimon gate section has elevated walkways on both sides that defenders love to use as sniper and AoE positions. Prioritize clearing at least one of these elevated positions with a mobile hero before the main group pushes the payload into the final zone. A well-placed ultimate ability — particularly area-denial or displacement ultimates — used at the base of the gate ramp can crack open a stubborn final defense. Always ensure your strategist is positioned safely behind the payload's natural cover during the final push rather than in the open street.
🛡️ Defense Tips
Defenders on Kaminarimon Company have one of the most naturally advantaged first holds in Marvel Rivals' convoy pool. The market district entrance, where the first checkpoint transition occurs, gives defenders a covered position with multiple angles to poke from while the attacking team must advance through more open terrain. Place your vanguard at the center of the road to create a body-blocking presence, with flanking duelists watching the left side alley and a strategist anchoring safely behind market stall cover. Holding this position through the first phase forces attackers to burn ultimates early or eat significant cooldown damage.
The underpass choke beneath the elevated train tracks is your most powerful natural defensive position on the entire map. A single well-played vanguard or crowd-control duelist positioned at the narrow entrance can stall the payload for enormous amounts of time. Supplement this anchor with a ranged attacker on the elevated train platform above, accessible via a stairwell to the right of the underpass entrance. This two-level hold — ground anchor plus elevated ranged pressure — is extremely difficult for attackers to break without a coordinated flank or a strong ultimate. Always watch the back-right passage that loops behind this position, as experienced attackers will send flankers through there to break your hold.
At the final gate section, transition from a narrow hold mentality to an elevation-control mentality. Both raised walkways flanking the Kaminarimon gate ramp must be contested, ideally with heroes who can sustain or reposition quickly. Do not over-commit all defenders to one side of the gate — attackers who secure the opposite elevated walkway can rain damage down onto both the payload zone and your team simultaneously. Reserve at least one ultimate ability for the inevitable final push attempt, particularly abilities that can displace or stall the payload interaction. A single well-timed displacement or zone-denial ultimate at the gate base can cost attackers a full overtime window.