HomeMapsYggsgard Royal Palace
Game Mode: ConvoyAsgard

Yggsgard Royal Palace Map Guide – Marvel Rivals Convoy Strategy

Yggsgard Royal Palace is a grand Asgardian Convoy map set within the gleaming halls and open courtyards of Thor's mythic realm. Attackers must escort a payload through sweeping golden corridors, ornate bridges, and towering throne room antechambers while defenders leverage the map's many elevated positions and chokepoints. Understanding the flow between open plazas and tight indoor sections is essential to winning here.

Updated May 25, 2026
🔗 View on Wiki

Overview

Yggsgard Royal Palace transports players into the heart of Asgard's most iconic landmark, blending the grandeur of Norse mythology with Marvel's cosmic aesthetic. The map is bathed in warm golden light, with massive stone pillars, rainbow-tinged bridges reminiscent of the Bifrost, and sweeping views of Asgard's skyline serving as a backdrop. The payload route winds through several distinct zones, each with its own strategic identity, moving from an outdoor ceremonial plaza through indoor throne corridors and finally into the inner palace grounds.

The first section of the map opens in a wide ceremonial courtyard flanked by towering Asgardian statues and low walls. This area offers relatively open sightlines, rewarding ranged Duelists and mobile flankers who can capitalize on the space. The payload moves at a moderate pace here, and the initial choke is a grand arched gateway that funnels both teams into a fierce mid-range brawl. Attackers who fail to clear the high ground on either side of this gate will struggle to push through.

The second section transitions into a covered indoor corridor lined with ornate pillars and side alcoves. Sightlines shorten dramatically here, making this a stronghold for close-range brawlers and Vanguards who can body-block the narrow path. Elevated catwalks above the main corridor are critical high-ground positions that defenders will contest fiercely. Flanking routes exist through side chambers on both left and right, allowing nimble heroes to bypass the main corridor and pressure defenders from unexpected angles.

The final stretch delivers the payload into the outer royal courtyard directly in front of the palace's grand entrance. This zone reopens into a semi-open space with multiple levels — a ground floor, a raised terrace, and the palace steps themselves — creating a three-tier vertical battlefield. The final capture point sits at the top of the palace steps, making it one of the most defensible endpoints in the game. Teams that control the terrace level control the final push, and overtime battles here are among the most intense in Marvel Rivals.

⚔️ Attack Tips

In the first section, attackers should prioritize establishing early high-ground control on the flanking walls and statue plinths before committing to the payload. Heroes with vertical mobility like Spider-Man, Iron Man, or Black Panther can leap onto these elevated positions and deny defenders their sightlines. Once high ground is contested, a Vanguard should anchor directly on the payload to prevent it from stopping while the rest of the team clears the arched gateway choke. Do not rush the gateway without first clearing the sides — defenders stacked behind that arch with a Strategist pocket are extremely difficult to dislodge head-on.

Through the indoor corridor section, attackers must use flanking routes aggressively. The left side chamber connects to a position behind the main defender stack, and a single mobile Duelist slipping through while the team applies frontal pressure can collapse the defense entirely. Abilities that pierce or penetrate cover — such as Storm's lightning, Scarlet Witch's chaos bursts, or Magneto's projectiles — are especially effective at harassing defenders hiding behind pillars. Smoke or distraction abilities can also be used to force defenders off the catwalks above before your main push, as ceding those catwalks means fighting upward into sustained fire.

For the final push to the palace steps, attackers should rotate as a full six-stack and commit to taking the raised terrace before the payload arrives. If you can win a fight on the terrace and hold it even briefly, the defenders are forced down to ground level, removing their height advantage. Burst-damage Duelists excel here for quickly eliminating the Strategist pocket and removing sustain from the defending team. Use ultimate abilities in combination — pairing an area-denial ultimate like Doctor Strange's Maelstrom of Madness or Thor's lightning storm with a high-damage Duelist ultimate can wipe a defending team off the steps and secure the final capture within seconds.

🛡️ Defense Tips

Defenders should send at least one fast hero — ideally a Duelist with high mobility — to delay the attackers at the very start near the ceremonial plaza. Even slowing the first push by 20–30 seconds gives your team time to fully set up at the arched gateway choke. At the gateway, a Vanguard like Doctor Strange or Magneto using a shield or barrier ability to block the payload path while teammates fire from elevated flanking positions is the most reliable hold. Avoid clustering all six players directly at the gate, as area-of-effect ultimates will punish that entirely.

In the corridor section, defenders thrive by controlling both the catwalk high ground and the side chamber entrances simultaneously. Assign one hero to each side alcove to prevent flanks, and keep your main two or three defenders and a Strategist in the central pillar zone. Heroes with long-range or piercing abilities — Hawkeye, Hela, or Punisher — can comfortably hold long angles down the corridor and punish attackers trying to walk the payload forward. If the catwalk is lost, fall back immediately to the next natural choke rather than fighting in the open — the corridor punishes teams that overextend.

At the final palace steps, defenders have one of the strongest natural positions in all of Marvel Rivals. The steps provide elevation, the terrace offers a secondary fallback, and the palace entrance itself creates a narrow funnel. A Strategist should always be positioned on the terrace rather than ground level to maintain healing lines to the full team. Vanguards should hold the base of the steps to body-block the payload, while Duelists cover the ground-level approach and punish attackers who try to swarm. Save at least one major ultimate for the final overtime push — a well-timed Hela or Storm ultimate at the top of the palace steps in overtime can single-handedly deny the match.

🦸 Best Heroes

🦸
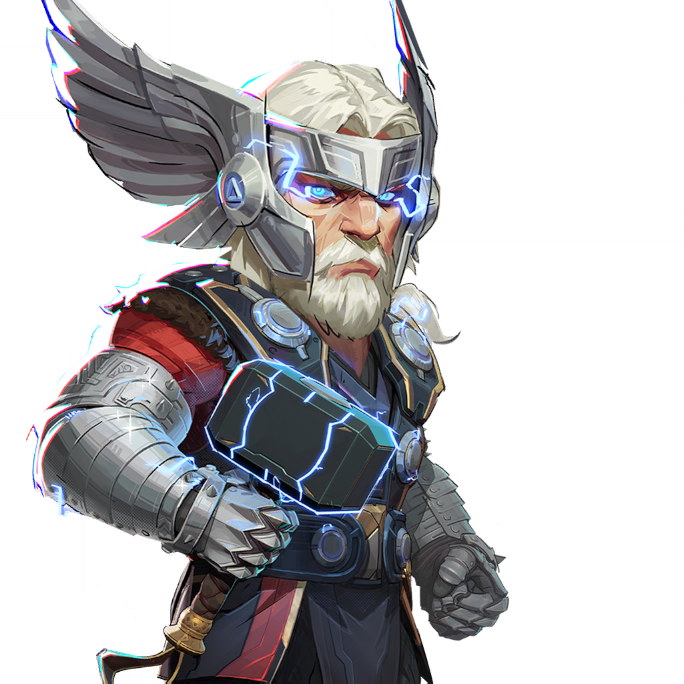
ThorVanguard
Thor is thematically at home on this Asgardian map and mechanically dominant. His hammer throw covers the long sightlines in the first courtyard, his crowd-control slam disrupts payload-contesting enemies in the corridor, and his lightning ultimate is devastating in the confined palace steps area during the final push.
🦸
Doctor Strange's shield portals and barrier abilities are perfectly suited for the arched gateway choke and the corridor section. His Maelstrom of Madness ultimate clears clustered defenders from chokepoints, and his mobility allows him to reposition between the terrace and ground level during the final fight.
🦸
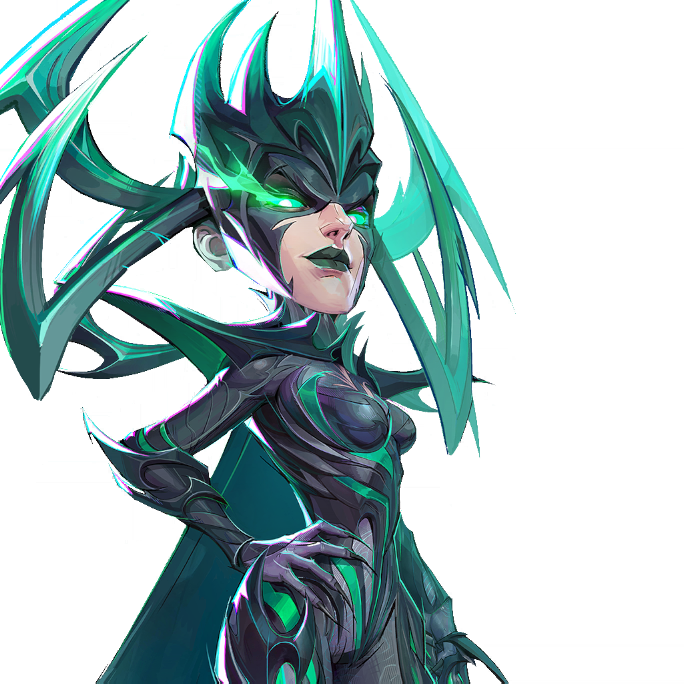
HelaDuelist
Hela's long-range piercing projectiles punish enemies hiding behind pillars in the corridor and her ability to float at elevated positions gives her natural high-ground dominance. Her ultimate is particularly lethal at the palace steps, capable of eliminating multiple enemies stacked on the stairs.
🦸
StormDuelist
Storm's flight and area-denial abilities make her exceptional at contesting high ground throughout all sections of the map. Her lightning abilities have strong range for the open plaza and her ultimate creates a persistent storm zone that forces enemies off the payload, making her invaluable on this Convoy map.
🦸
Spider-Man's web-swinging mobility allows him to reach the statue plinths, catwalks, and terrace faster than almost any other hero. His ability to flank through side chambers and web-pull enemies off high-ground positions makes him a constant disruption threat that defenders must always account for.
🦸
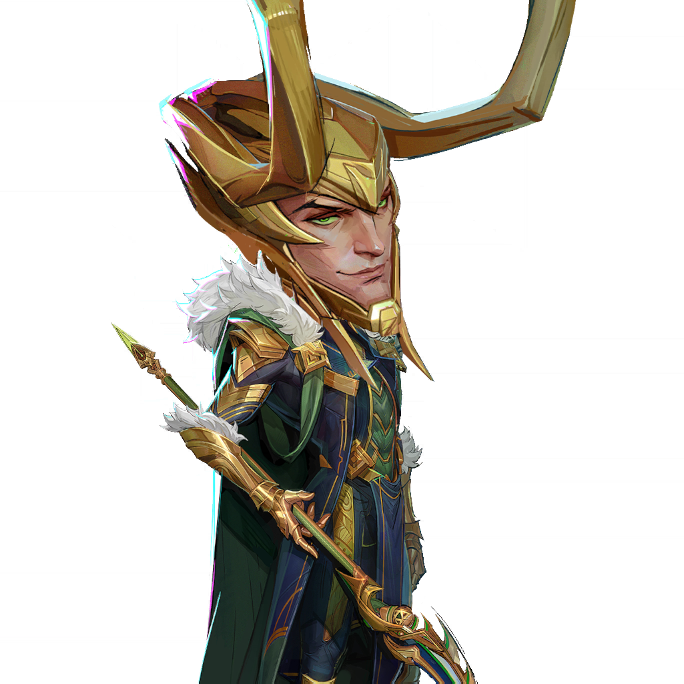
LokiStrategist
Loki's clone deception mechanics create enormous confusion in the tight corridor section, where defenders cannot easily identify the real target. His healing totems can be placed on pillars out of immediate sight, sustaining the team through the hardest choke fights, and his ultimate provides incredible team survivability during the final palace steps brawl.
🦸
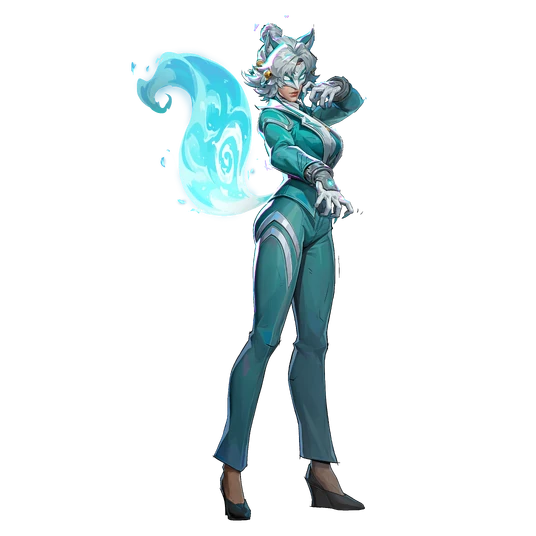
Luna SnowStrategist
Luna Snow's mix of sustained healing and AoE damage makes her reliable through all three sections of this map. Her ultimate provides a wide healing and empowerment field that suits the semi-open final courtyard perfectly, and her mobility helps her reposition quickly when defenders rotate between terrace and ground level.
🦸
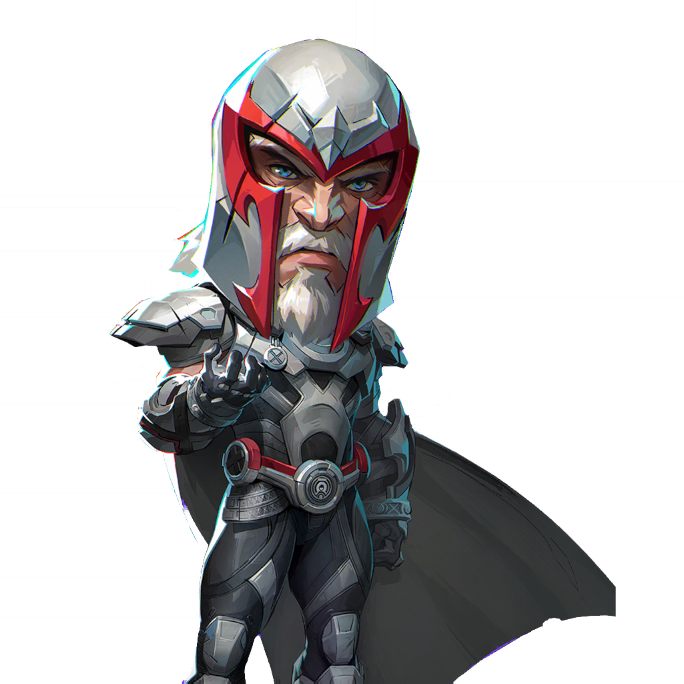
MagnetoVanguard
Magneto's metal projectiles pierce the pillar cover in the corridor section and his shield bubble can protect the payload and teammates simultaneously at the gateway choke. His gravitational pull ultimate is highly effective at dragging clustered defenders off the palace steps and into unfavorable ground during the final capture.

📍 Key Locations

Ceremonial Plaza
The starting zone of the Convoy route, this wide outdoor courtyard features low flanking walls, Asgardian statue plinths, and open sightlines. Control of the elevated statue bases on each side determines early momentum, as these positions give height advantage over the payload path before the first major choke.
The Grand Gateway Arch
The primary first-section choke point, this massive ornate arch funnels the payload and both teams into a concentrated brawl. Defenders stack behind and atop this structure to deny forward movement, while attackers must clear the flanking walls before committing to a push through. Winning this fight decisively often translates to an uncontested second-section entry.
Corridor of Pillars
The indoor second section characterized by rows of massive stone pillars that create natural cover on both sides of the payload path. The shortened sightlines favor brawlers and close-range heroes, while the pillars create a complex environment of peek angles and ambush opportunities. Control of this zone often determines whether the attacking team reaches the final section with time to spare.
Catwalk Level
Elevated walkways running above the Corridor of Pillars that provide a dominant high-ground angle over the entire indoor section. Defending teams that hold both catwalk positions can suppress an attacking team almost indefinitely. Attackers should always contest or neutralize these positions before pushing the payload through the corridor.
Side Chambers
Flanking routes on both the left and right sides of the corridor section that allow mobile heroes to bypass the main defender stack. The left chamber in particular connects to a position behind the primary defense line, making it a critical flanking path for attack and a position defenders must actively watch.

Royal Terrace
A raised stone terrace in the final courtyard that sits between ground level and the palace steps. This mid-level position provides both teams with a powerful angle — defenders use it to rain damage down on the approaching payload, while attackers who capture it gain a launching point for the final assault on the palace steps.

Palace Steps
The final capture point and most defensible location on the map. The broad stone staircase leading to the palace entrance creates a natural kill funnel, with height advantage going entirely to whoever holds the steps. Overtime battles here are common and brutal, as even a small defending team can hold off a larger attacking team due to the terrain advantage.
Bifrost Bridge Approach
A decorative bridge section near the transition between the first and second map areas that features subtle rainbow-hued stonework and minimal cover. While not the most contested zone, it serves as a reset point after the gateway fight and determines which team sets up the corridor entry first after a team wipe.
🛠 Team Builder for this Map
Build your team and see how it performs
+
+
+
+
+
+
Adam WarlockA
Adam Warlock
AngelaA
Angela
Black CatA
Black Cat
Black PantherA
Black Panther
Black WidowB
Black Widow
BladeA
Blade
Captain AmericaA
Captain America
Cloak & DaggerA
Cloak & Dagger
DaredevilA
Daredevil
DeadpoolA
Deadpool
Devil DinosaurA
Devil Dinosaur
Doctor StrangeA
Doctor Strange
Elsa BloodstoneB
Elsa Bloodstone
Emma FrostS
Emma Frost
GambitB
Gambit
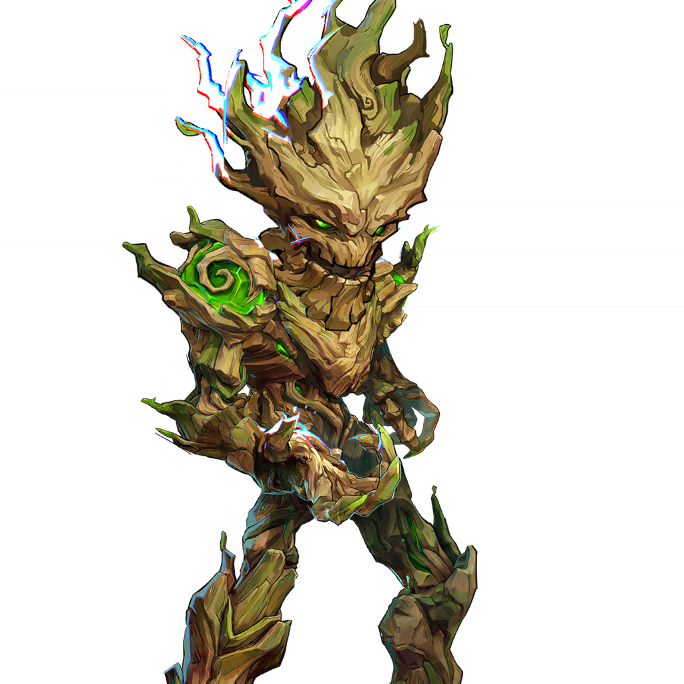
GrootA
Groot
HawkeyeA
Hawkeye
HelaS
Hela
HulkB
Hulk
Human TorchA
Human Torch
Invisible WomanA
Invisible Woman
Iron FistB
Iron Fist
Iron ManS
Iron Man
Jeff the Land SharkA
Jeff the Land Shark
LokiS
Loki
Luna SnowS
Luna Snow
MagikS
Magik
MagnetoS
Magneto
MantisA
Mantis
Mister FantasticA
Mister Fantastic
Moon KnightA
Moon Knight
NamorB
Namor
Peni ParkerA
Peni Parker
PhoenixS
Phoenix
PsylockeS
Psylocke
Rocket RaccoonS
Rocket Raccoon
RogueB
Rogue
Scarlet WitchS
Scarlet Witch
Spider-ManS
Spider-Man
Squirrel GirlB
Squirrel Girl
Star-LordA
Star-Lord
StormA
Storm
The PunisherA
The Punisher
The ThingB
The Thing
ThorA
Thor
UltronA
Ultron
VenomS
Venom
White FoxA
White Fox
Winter SoldierA
Winter Soldier
WolverineA
Wolverine
★ = Recommended for Yggsgard Royal Palace
← Back to Maps